LUT Presets for Video
In Lightroom you now the development of image by applying a preset, for video postproduction there is something very much the same , the LUT’s.
Introduction
The term LUT stands for Look-Up-Table, a look-up table for certain values and replacing them by another value from the LUT. Jut like a Lightroom preset you can color correct the video, increase contrast and saturation and much more. LUT are available for free but there are also many sold.
Starting point
 A video clip generally offers 8-bit per channel only, so the dynamic range of the clip is narrower compared to a RAW file with 12-14 bit per channel. Because of this limitation and keep the dynamic range video capturing is normally done with a fairly profile. I already compared some of those profiles for video capturing with Canon DSLR’S.
These flat profiles lower the overall contrast in the clip, some time the saturation and sharpening normally done in the camera. These parameters like contrast and/or saturation are added later by processing the video. But this is also the main disadvantage, you must do post processing 😉 the clips right away form the camera look soft, lack of contrast and sharpness.
LUT
I got in contact with LUT while video capturing with the Lumix G81 and the DJI Mavic Pro. for the later one there is an advice ot film in D-Log and reduce the settings for contrast,saturation and sharpness to -1,-3,-3.
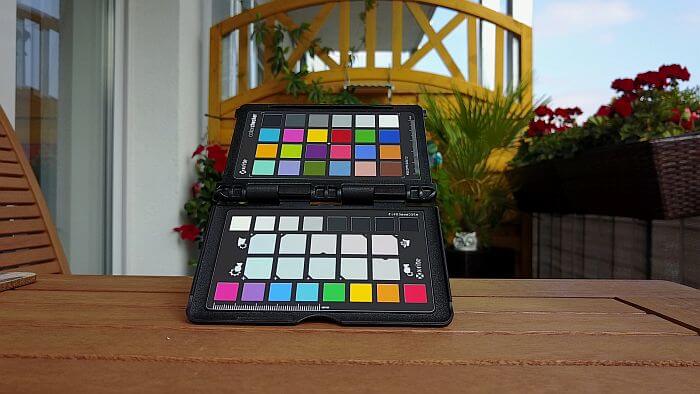
But lets take a look on our color card with default settings.
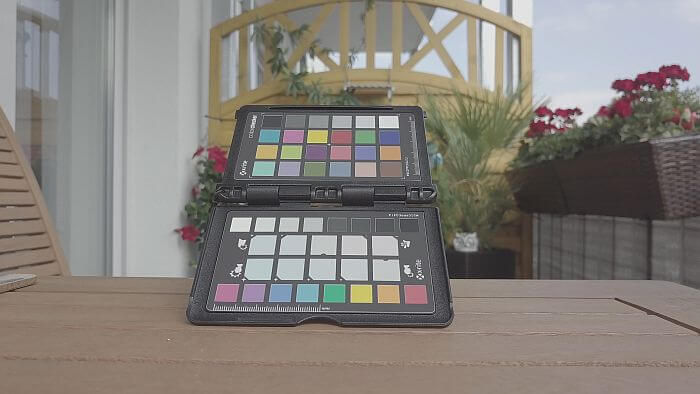
And now the same scene with D-Log and the settings mentioned above:
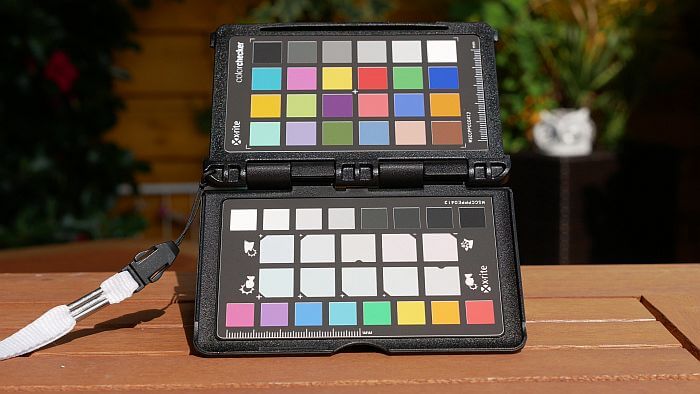
And here an example with the Lumix G81 and default settings:
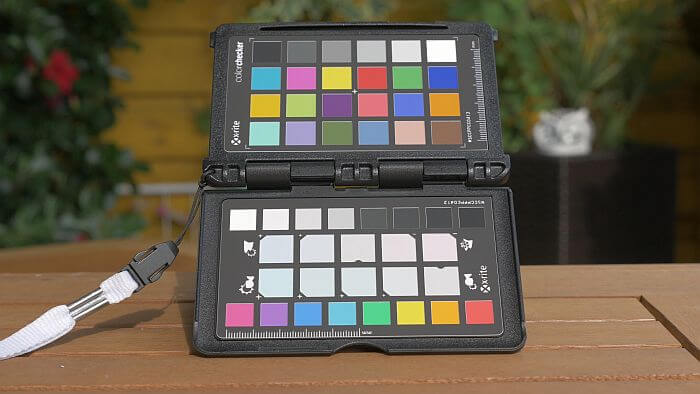
For the flat profile i choosed Cinelike-D and reduced contrast and saturation:
Just like presets for Lightroom there a lot of LUT’s offered on the web. A good impression made the LUT for the DJI Mavic from here. Applied to a little test clip you see the difference.
But this is alos a good exemple that a LUT is a good starting point only for your video processing because sometimes the result aren’t good at all.
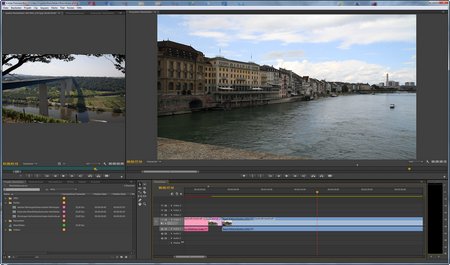
Adobe Premiere CS6
 A main problem of my workflow is i’m still using Adobe Premiere CS6 which is not capable to handle LUT’s , this was implmented in one of the Premiere Pro CC versions. But there is a plugin from Red Giant software which allows Premiere Pro CS6 to use LUT files. But the plugin is not in active development any more and you have to register yourself before downloading the software. With this plugin you’re able to apply a LUT file to one or more video clips, but you can’T alter the settings later on.
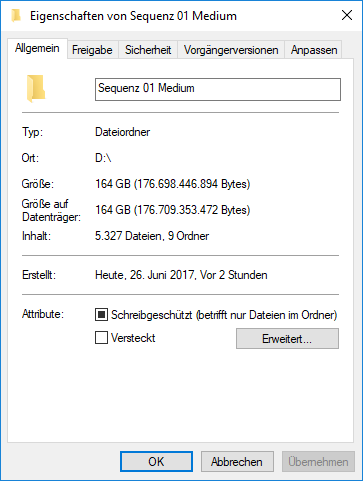
Speedgrade CS6 is supposed to have the Lumitry Engine on board, but this software fails on the .mov files. Now there is an opportunity to handle over the clips from Premiere Pro, but to do this a couple of temp files are created which lasts a long time even for a short clip and its up much disk-space.
Conclusion
LUT for video are the same like presets in Lightroom for image processing. They are a good base for post proecessing your flat profile clips (D-Log,Cinelike-D) and add details in shadows/highlights.
But know i have to decide whether Adobe Premiere Pro CS6 still is good enough for processing my video clips or if there are alternatives.
ciao tuxoche
