Sphere panoramas with the Canon 16-35/4.0 L IS
After substituting my Canon 17-40/4.0 with the much better 16-35/4.0 IS it was time to setup the combination lens and my 5D MK II body for sphere panoramas.
 The [post id=1015]Canon 16-35/4.0 L IS[/post] is a fantastic substitute for the 17-40/4.0 and is even more suitable for taking 360×180° panoramic views. Because of the slightly shorter minimum focal length the number of needed shots will stay to 16 and one additional nadir shot.
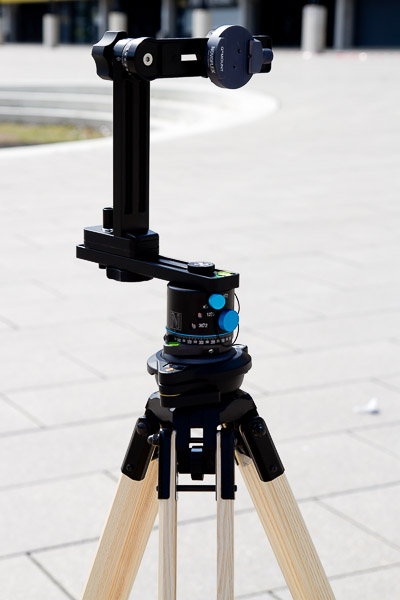
Because of the other dimensions of the lens and the optcal construction i had to find out the new nodal point with this lens in combination with [post id=209]Nodal Ninja 4[/post] nodal adaptor. Basically you’ll get yourself a real near and a pretty far vertical object and watch if there is a paralaxx while turning the camera/lens combination. After a couple of tries i found a setting of 131,5mm to be right for the complet focal length range.
 With this setting i’ll reach the maximum setting of the nodal ninja 4 adapter in combination with a 5D MK II body, the cameraplae is at the far end of the horizontal axis.
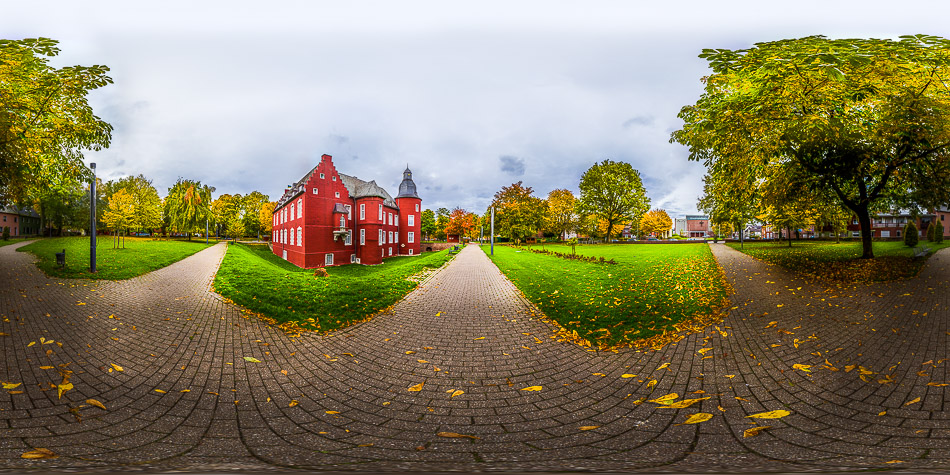
With this value i took the chance to verify this in real life. I’ll took Burg Alsdorf to tkae a sphere image. Too bad that it was sort of grey weather so the pretty fall colors didn’t show up as bright as in sun light.
With the Canon 17-40/4.0 i almost used the 17mm setting exclusively for sphere panoramas. With the new 16-35/4.0 i wanted to use at least the 16mm and the 35mm setting, just to be safe that PTGui is able to stitch the panoramas.
But don’t worry, the panorama fits..
As described in my article [post id=335]Getting a better fit with nadir shots[/post] i use 3 colored rings, which make it a lot easier find control points to integrate the nadir shot into the panoarama. Then you’ll get rid of the tripod pretty easy and the colored rings are easy to retouch in Lightroom or Photoshop.
I’ll use the following settings:
| 16mm | n | 35mm | n |
|---|---|---|---|
| 0° | 8 | 0° | 15+Z+N |
| +50° | 4 | +30° | 10 |
| -50° | 4 | -30° | 10 |
| +60° | 6 | ||
| -60° | 6 |
All images were taken with a fixed exposure (in manual mode) and white-balance and AF was turned off . Taking the pictures with a focal length of 35mm you have to focus to the floor for the bottom rows, otherwise the bottom will not be sahrp even with f 11 . Taking the panorama at 16mm you’ll need 16 images only, but with 35mm you have to take 49 images (in both cases you’ll need a additional nadir-shot)
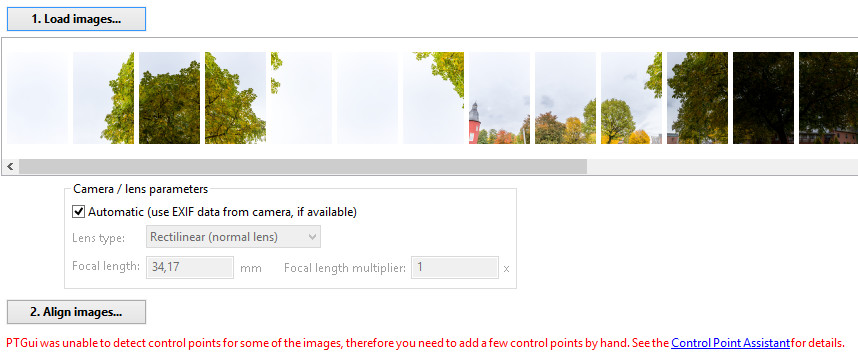
With longer focal length you might have images with sky only. And with grey weather the software like PTGui or Hugin don’t have a chance to find control points. But you can move the image manually in the panorama editor.
The base workflow looks like this:
- Process the base images in Lightroom (shadows,highlights and for equal for every base image since we don’t want to make get the stitcher software into a hard job)
- Stitching using PTGui or Hugin
- Finla processing in Photoshop/Lightroom to retouch the rings
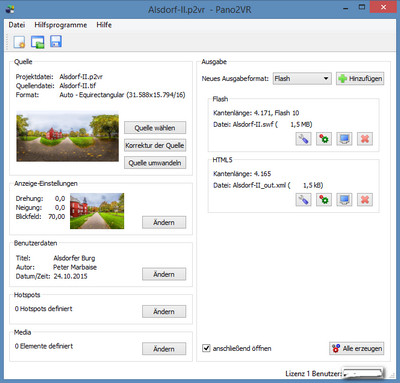
- Pano2VR to generate a sphere panorama for the web
 This describes the basic steps of the workflow. Generating a panorama for base images shot at 16mm with 17 images i got a panorama with a little bit over 900MB, doing the same with images taken at 35mm you’ll run into a panorama with a little bit over 3.8 GB file size.
My desltop PC has 16 GB of memory installed, but stitching panorams taken at 35mm i’ll have to be patient, because stitching will fill up all of your memory. If you plan to do panoramas with longer focal length you should consider to install 32 GB or RAM.
Ok this was all for today. I’ll hope you liked the article a little bit and leave your comments. Questions are welcome too. And if you like to view a couple of other panoramas maybe you’ll visit belichtungs-zeit.net.
ciao tuxoche


Now that is a camera! Amazing, the shot is gorgeous!
Thank you Leslie