Nodal Ninja 3 MK II
Panorama photography is one of my passions but in the past i didn’t have time enough to do more panorama shots.
Introduction
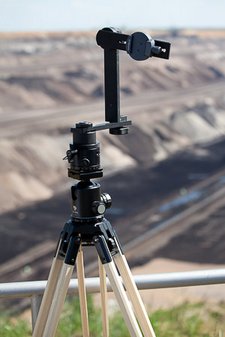 I already owned a Nodal Ninja panorama head in the version 4 for my full frame cameras like the Canon 5D MK II and the 6D MK II. But after i switched over to the mFT system almost completely i made the decision to get a panorama head again. Even though the Lumix G9 is not a small camera for mFT systems teh head could be significantly smaller thean the version 4. I got myself the Nodal Ninja 3 MK II.
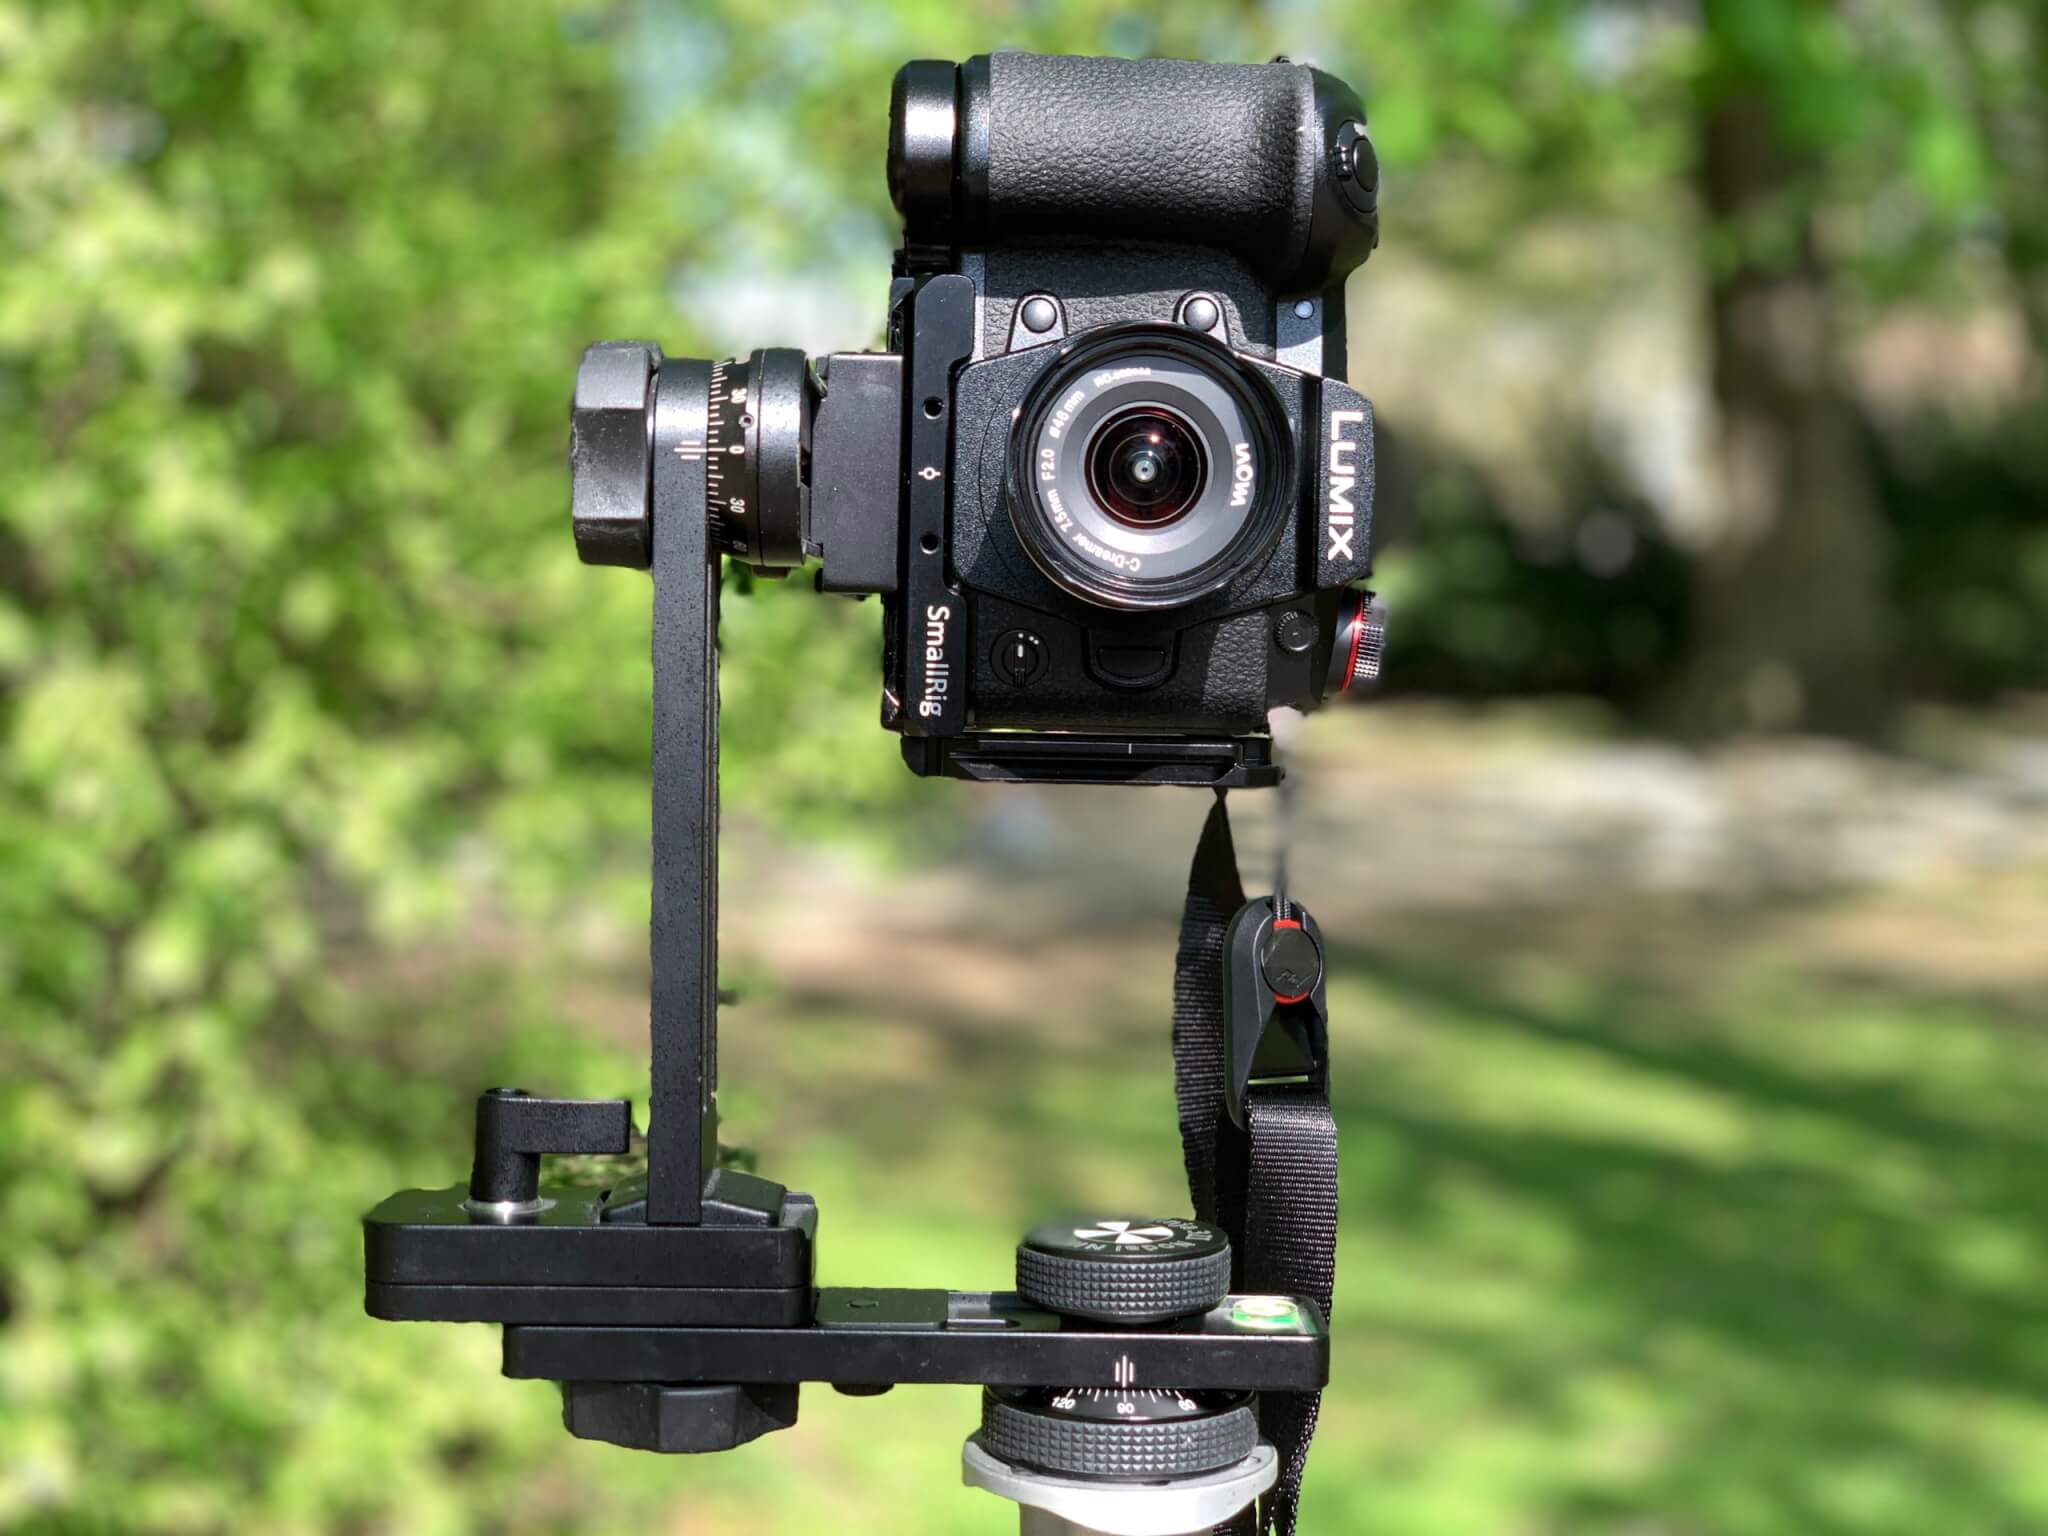
I got myself a rotator but so far i prefer to use the detent rings which are used to control the angle between the shots very easily.
Since i still got the needed software like PTGui and Pano2VR restarting panorama photography was pretty easy.
But i also recorded a small video:
Setup
 Before using the panorama head we have to do a correct setup for the panorama head. We have to find the nodalpoint for the lens to be used. This is very important using while using wide angle lens, where you get a lot of the near foreground in the image.
I planned to use the Panansonic 7-14mm and the Laowa 7.5mm/f 2.0.
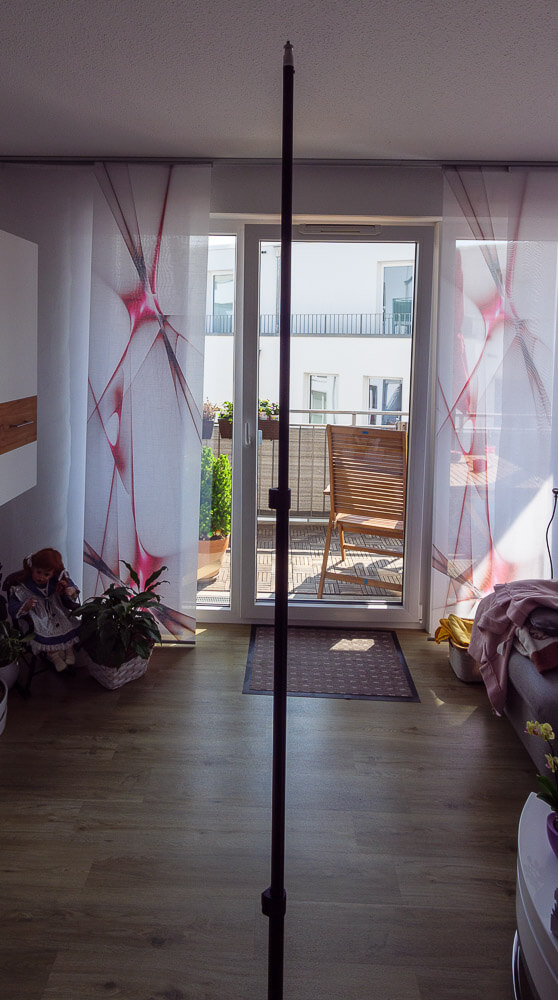
To do this i mount the camera with the head on a tripod and then use light stands in a distance of 1 m and approx. 3m from the tripod away. In this situation here i got a baclony in a distande of rohgly 15-20m away.
After lineing up all these in a row ypu can easily determine if there still is a parallax effect while turning the panorama head. In this case you have to move the camera away or towards youself.
First test
With my full frame cameras i used the Canon 17-40 or later the 16-35mm/4.0 for sphere panoramas. Now with the mFT system it is possible to cover a complete sphere with 16 images at a focal length of 7mm.
I do 8 images at the horizontal level at 0° and 4 images in 90° steps at +50° and -50°. In addition i take a nadirshot to eliminate the tripod and make a complete 360×180° panorama.
Processing in PTGui
Processing the images in PTGui didn’t change. Only the nadirshot now can be marked as “viewpoint optimize” directly.
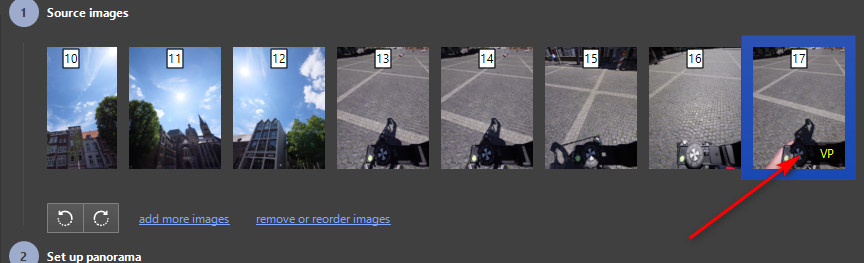
With the nadir shot i only had the problem not to follow my own advice 😉 but the next time i will use the colored rings again.
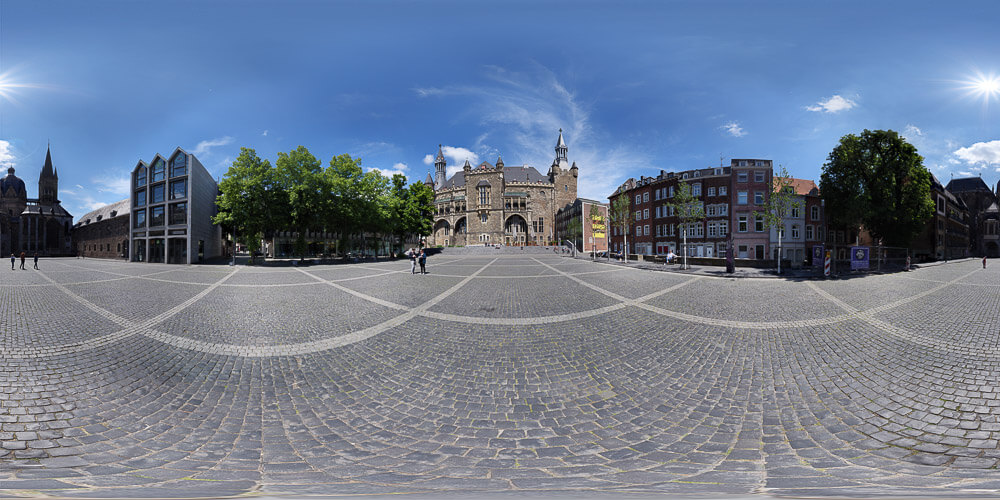
The final image done with the Lumix G9 has a resolution of 14.640×7.320 px.
Conclusion
The Nodal Ninja 3 panoramic head is pretty stable but also compact so it will fit in my camera bag. The size and adjustability are sufficient for the Lumix G9.
ciao tuxoche


