Lightroom backup workflow for images and video clips
I recently published an article and a video on how I back up my pictures and video clips during a vacation, for example, so that I have no downtime if possible. Today it’s about the basic workflow when I’m at home.
Introduction
Today I’m going to talk about the steps I take at home to import my videos and photos into Lightroom and, above all, to back them up. This way of working picks up on some points that I also take into account when I’m on vacation, so there’s no fundamental difference in my workflow.
This also makes it easy to adhere to the individual work steps, which then ensure that I have at least 3 copies of my photos quite quickly, and that should also survive the worst case scenario.
But I have also recorded a short video to explain this:
Basis
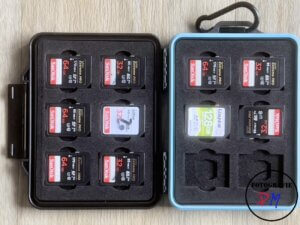
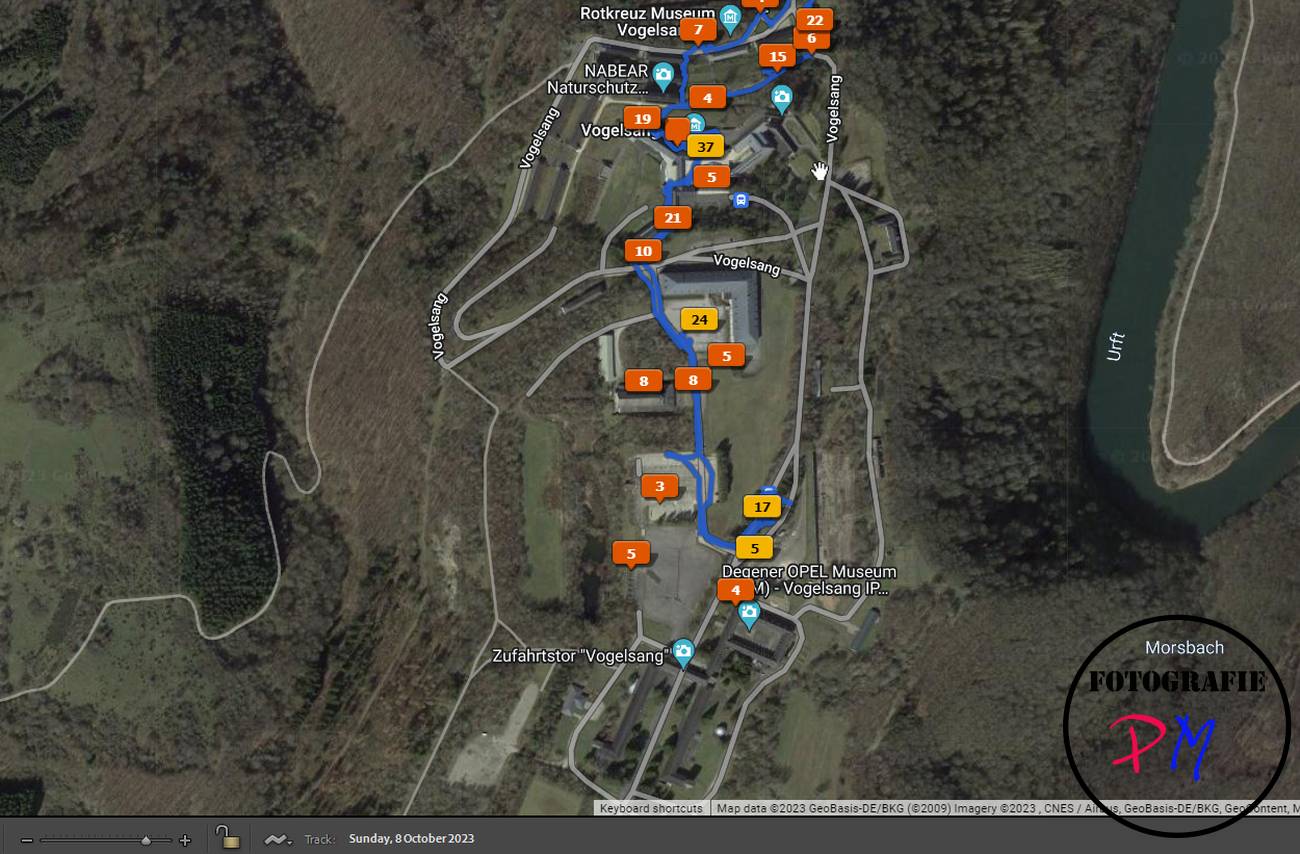
As with the vacation backup, the workflow is based on an SD card container in which the relatively large memory cards are stored in pairs.
These are also used in pairs. In addition, I usually don’t manage to fill such a 32 GB card in one day, so I create corresponding subfolders with the camera.
The card will then continue to be used with these subfolders, and even if the images have already been imported into Lightroom, the card will not be deleted or formatted immediately. The cards then rotate in this container so that the cards are at least used more or less evenly.
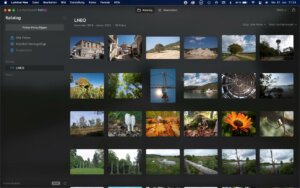
Lightroom Import
The cards are imported as normal. The photos and video clips are saved directly to my NAS, i.e. the Openmediavault.
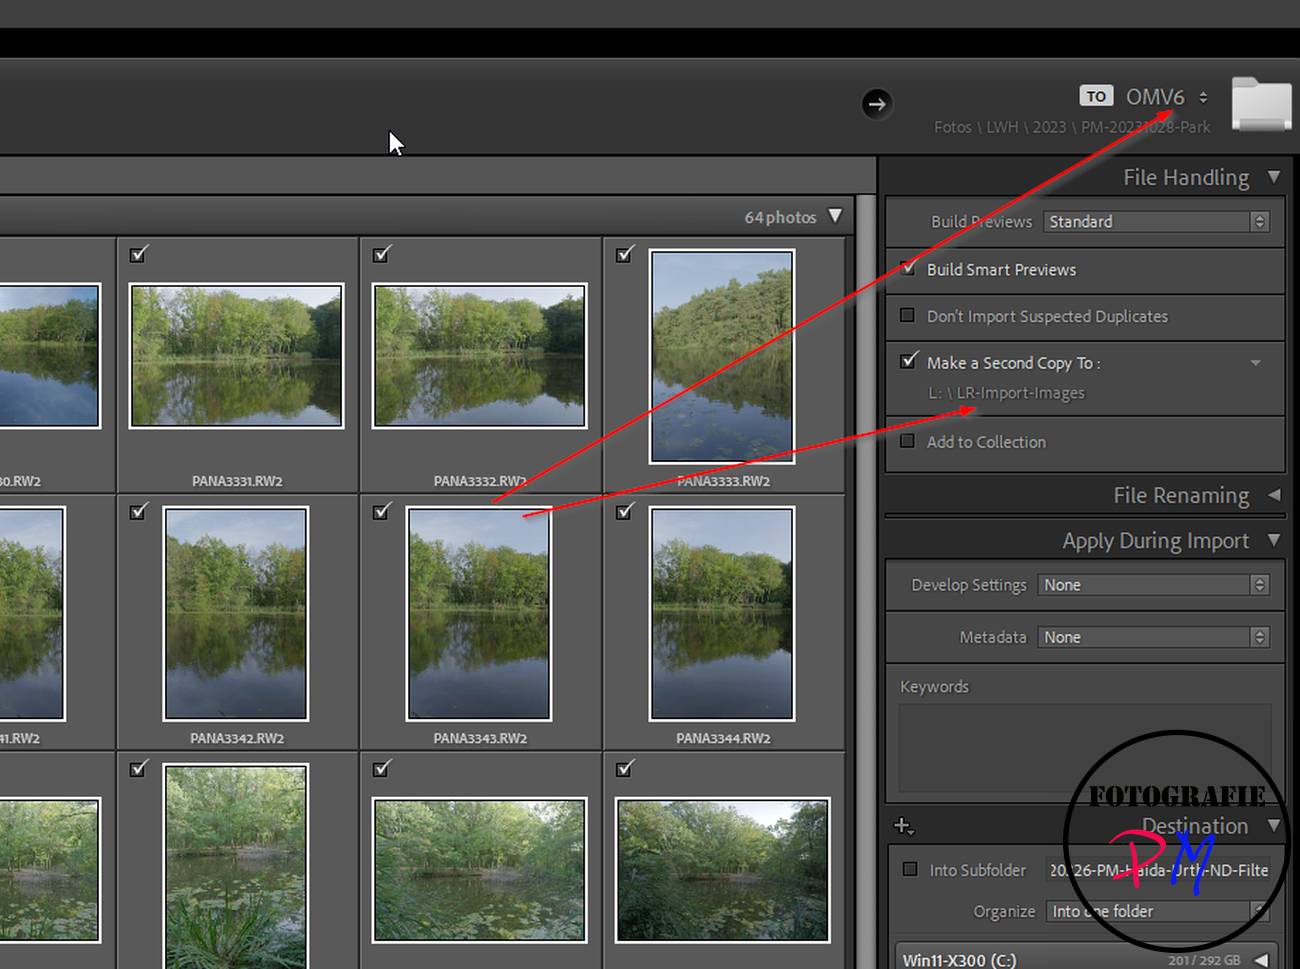
I take advantage of the fact that Lightroom can also save the imported images to a different location during import. In this case, this is a directory on a Proxmox server.
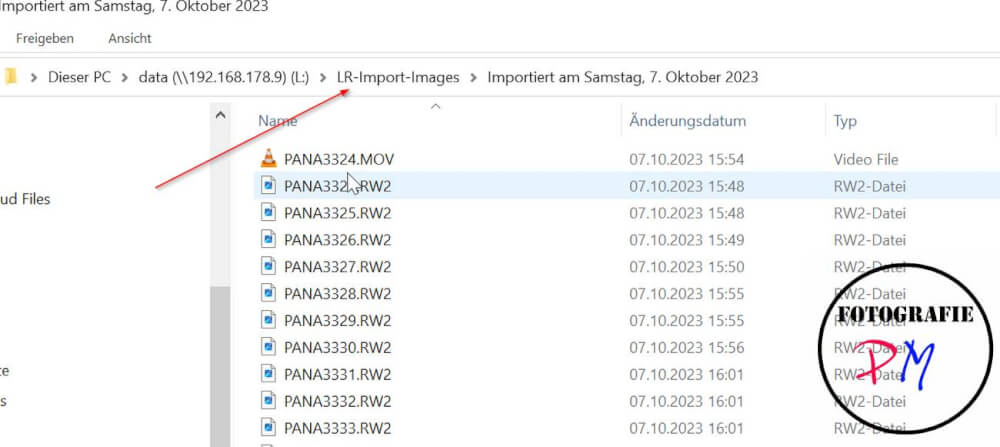 From this point on, i.e. after importing the images into Lightroom, there are already 3 copies. Once on the NAS, then on the Proxmox server and the corresponding SD card is not yet deleted.
Further steps
The next steps are to add GPS tags to the images and to add data to images that were taken with my Laowa D-Dreamer, a manual lens, for example, using the Lenstagger plugin.
Further processing will follow later after the first backup.
First backup
After these basic steps, my ICY box, which is connected to my NAS via USB, is switched on.
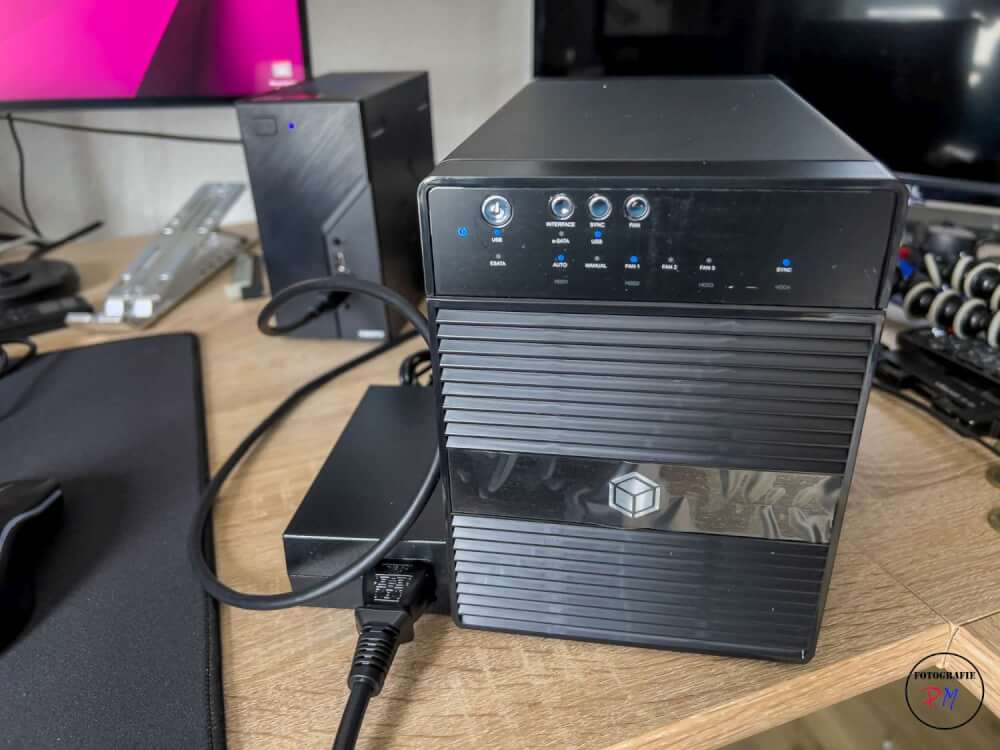
The OMV6 plugin USBBACKUP is then used to make an initial backup directly from the NAS to the external hard disks so that I have at least 4 copies of my photos and video clips from this point on. At this point there is also a backup of the Lightroom catalog via the backup.
Conclusion
I have been using this workflow, which is basically very simple and requires no additional effort, for more than 4 years without any failures. Even though I’ve rebuilt my NAS several times.
It’s just a description of how I do it and maybe you could adapt or even adopt some points for yourselves. Let me know in the comments how you back up your pictures.
ciao tuxoche