DxO Photolab II
In the first blog post about DxO Photolab we looked at the installation, the optical modules and the export options. In todays second part we take a look on image processing.
DxO Presets
Before switching to the development modul we’ll take a look on the presets which of course are implmented in DxO Photolab. They can be used for final editing with one mouse click or for a base processing.
 Applying a presets or any changes in the development modul small side-car files are created like known in Lightroom or Darktable. But DxO doesn’t use the XML format for these sidecar files, DxO uses a plain text format, where variables and the values are listed.
Processing modul
With “Edit” we switch to the processing modul and here with CRTL-U we can undock the filmstrip to get more room for the image.
 The development modul offers a common layout, on the right hand side the navigator, in the mjddle the image for processing and on the left hand side the different settings for development. Here presets can be applied to the image.
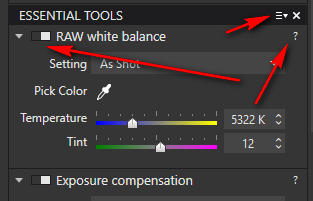 DxO Photolab of course offers all settings you can expect from a modern raw converter. White balance, exposure, contrast are only a view of the possible settings for your image. With the slider on the right hand side the particular sector can be collapsed, because the list of possible parameters is pretty long. A Solo mode like in the Lightroom development panels feels easier. Besides the particula sector a white square indicates if the sector is active or not. Some setors are activated by default. Very helpful are the little question marks which lead the user to a help text.
The automatically activated corrections work pretty good, but also those settings like DxO Smart Lightning, which is sort of an automatic tonal correction in Lightroom. The modul DxO Clearview is just like the DeHaze tool in Lightroom for delete or add haze to the image.
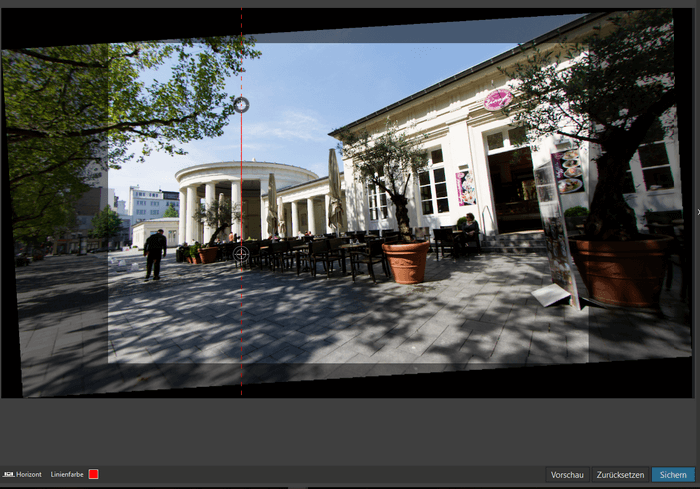
And there is a tool to align the image either vertically or horizontal. To support the user you can add a vertual scale to the image.
 Anf of course there is a tool tool to repair parts of the image.
Local corrections
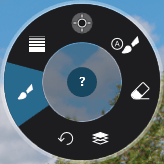 With DxO Photolab the company implemented local corrections for the first time. Activating these local corrections another menu will appear for choosing the local corrections. There are automask, nd-grad filter, control points and eraser. And in addition the point “New mask” to mask a certain part of the image and add corrections to this part of the image.
With the correction brush you can paint certain parts of the image to apply certain corrections, like color or contrast.
Here is an example with a nd-drad filter:

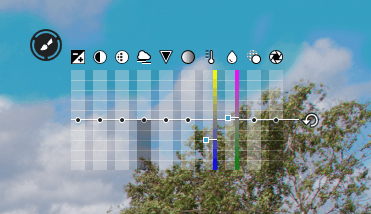 In this case and in other local corrections DxO uses the U-Point technology aquired from Google. There is an overlay with an equalizer for adjusting the different parameters like brightness, contrast, saturation and other on local area of the image. If you happen to work with Google Nik collections you’ll know these sliders.
The processing capabillities are pretty complete and maybe ad hoc you’ll only the layers like in Photoshop CC or Affinity Photo.
Conclusion
The DxO Photolab RAW Konverter is worth the money, the only problem right now the bankrupt of the software company evben if they promised customers will not be affected by this. The raw development is pretty fast and you probably won’T miss anything. Maybe you like keyword adding and plugins but besides this DxO Photolab is a competitor for Lightroom.
What do think about DxO Photolab? Is it an alternative to Lightroom and worth a try?
ciao tuxoche


