Asrock Deskmini H470 as Proxmox Server Part I
I had bought the Asrock Deskmin H470 with an i5 CPU for home office work. Nevertheless, a little later the Asrock Deskmini X300 came along, which was equipped with an AMD Ryzen CPU. And there was the H470 left over, so to speak 🙂
Introduction
 The X300 Mini with the Ryzen 7 5760 CPU is practically as powerful as my other desktop PC with the Ryzen 1700X CPU, except that I don’t have a dedicated graphics card here. In return, however, it also consumes significantly less power. Still, I can edit 4K videos with it.
But the Deskmini H570 with the Intel CPU was also very power efficient and I thought, among other things because the Nextcloud on a Rapsberry Pi no longer runs so satisfactorily, it becomes a server.
I could have taken a Linux distribution Ubuntu or Debian and installed Nextcloud on it. But for that alone 32 GB would have been more than excessive. So I found out about Proxmox, after I tried many things with virtual machines on Windows, but also on Linux.
Installation
Since Proxmox is based on Debian, the installation is very easy. I downloaded the corresponding ISO file and copied the ISO file to my Ventoy stick. But one thing to keep in mind is that Proxmox VE wants to have the whole machine to itself, so a dual boot is not possible. There is a tutorial how to install Proxmox in a Debian environment.
Proxmox earns its money by offering paid support beyond the open source environment, therefore Proxmox complains at the first login that you don’t have a subscription. But this can be easily removed by a script.
If you make sure that the device has a fixed IP address, then you can log in via the IP address and port 8005.

Then you can start to set up Linux containers and virtual machines and use them for different purposes. It even goes so far that you can install a Windows 11 here. If you want more you can even set up a cluster of 3 machines that mirror each other and there is also a backup server.
Linux containers and virtual machines
Basically you have the choice to set up a virtual machine or e.g. a Linux container. The latter is separate, but it shares resources, especially the kernel, of the base system. A VM, on the other hand, is completely encapsulated and therefore requires more resources in terms of both memory and disk space.

And here comes the key advantage of such a solution. One can allocate resources to both the LXC and the virtual machines. This is especially true for RAM and CPU performance. In the case of disk space, you can make a good guess and if an installation needs more later, you can still expand the disk space later.
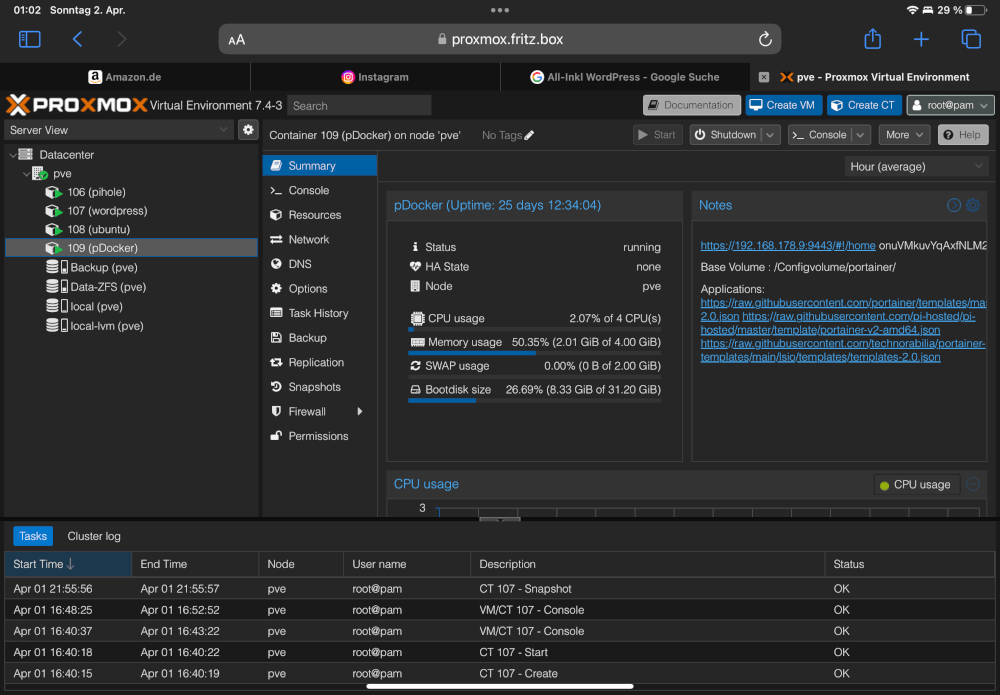
In the example above you can see that the LXC has only 4 CPU cores and 4GB RAM allocated. This can be reduced if you later realize that the container or VM does not need that much. I do it meanwhile in such a way that I assign a LCX quite much at resources at the beginning, because one has there the installation and also the later update. This runs a bit faster if you are more generous at the beginning.

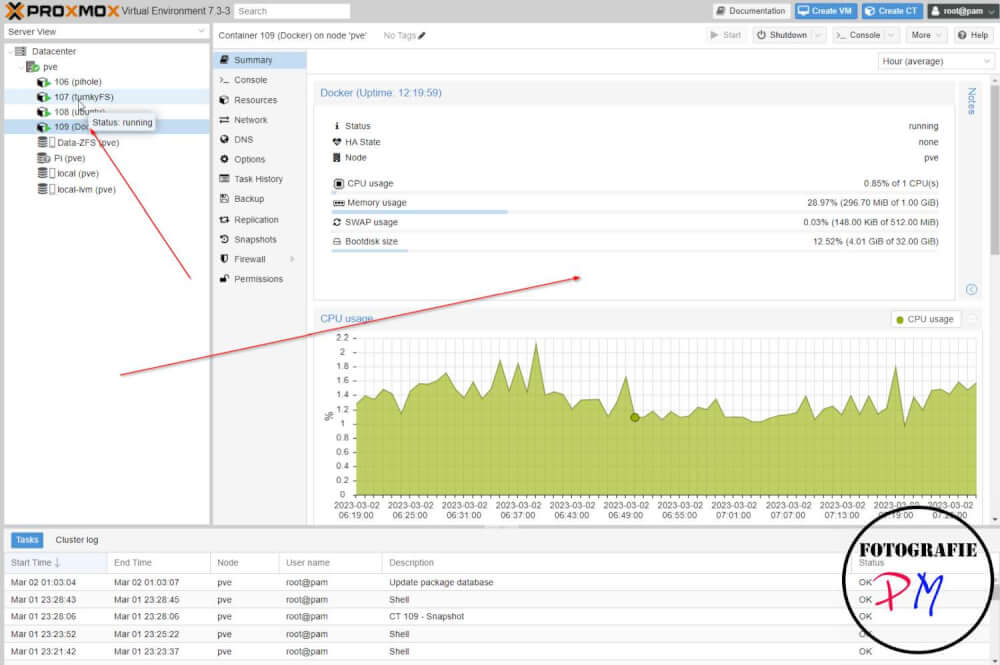
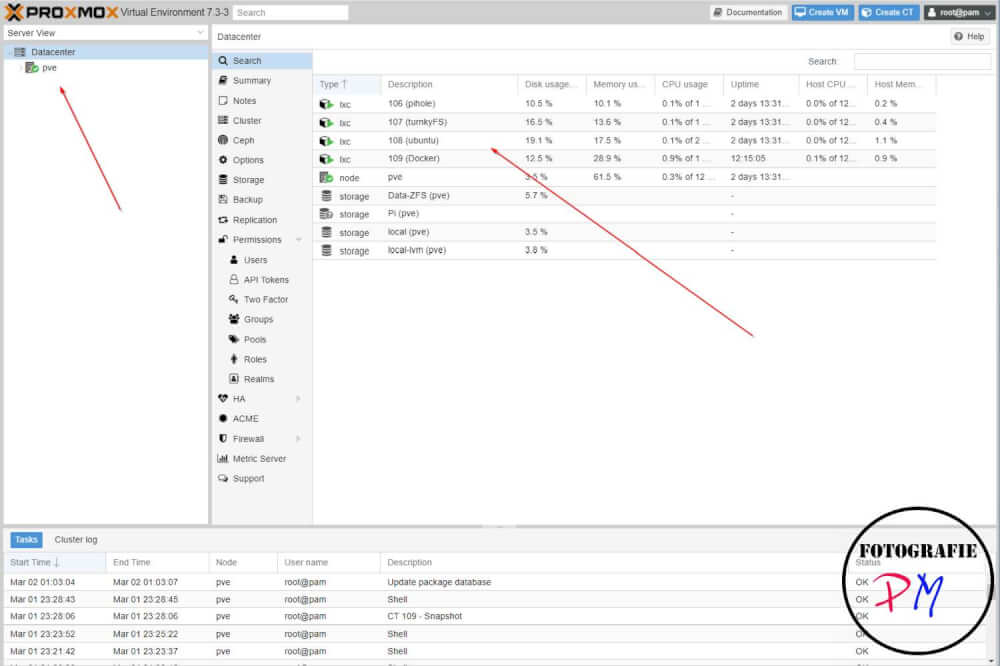
And in this environment you have control over it and you can see exactly which LXC or which VM needs how much RAM and disk space and also how the CPU load is. After that you can decide very well if you can reduce e.g. RAM or the allocated CPU cores.
What I then started with it, I tell in the 2nd part.


