Raspberry Pi and Nextcloud
Reading my blog regularly you know that i use Nextcloud to have my own cloud which i use for files, contacts and calendars.
 Introduction
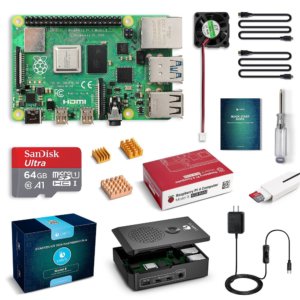
Meanwhile storage space for my own cloud installation at my provider All-Inkl.com was getting tight, so i planned to host the cloud installation at home. To realize such a project a Raspberry Pi computer is the right base. The Raspberry Pi if very small and therefor would not cost that much for energy and has enough power to host such an installation. I decided to get a Raspberry Pi 4 with 4 GB RAM and there is a complet kit available from Labists at Amazon. In this kit you find the Raspberry Pi, a housing, ac connector, heat sinks and a 32 GB Micro SD card to start the operating system.
A did a small video on the installation:
Installation and connectors
The Raspberry Pi offers besides 4GB of RAM 2x USB3.0 and 2xUSB2.0 connectors. 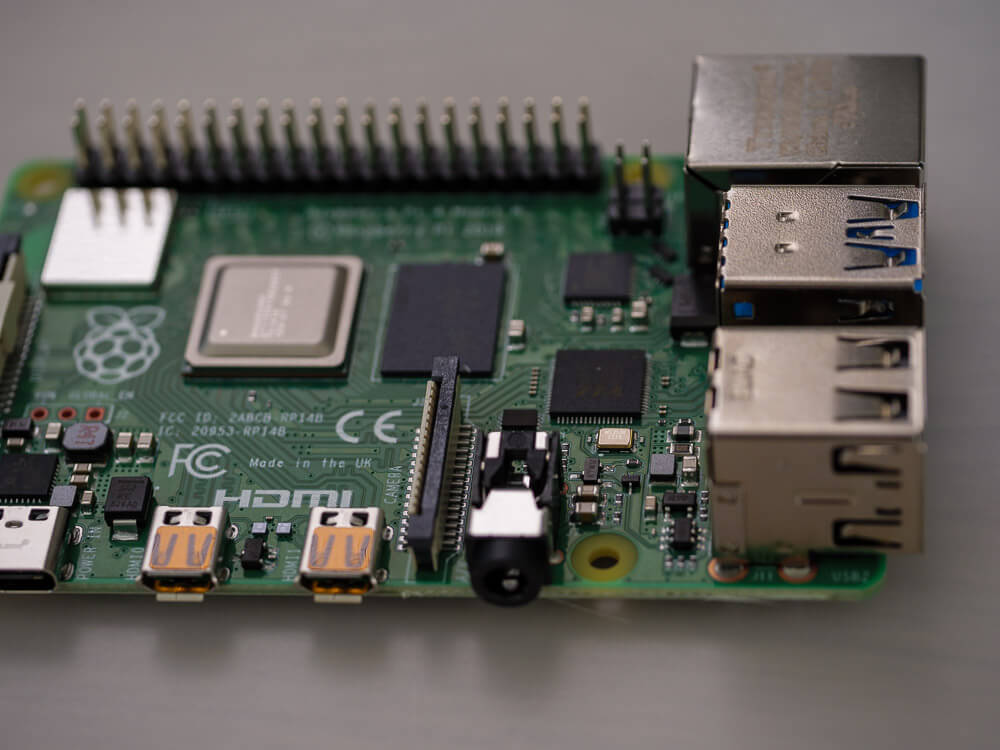 In addition you find a Gigabit Ethernet connections and 2 Micro-HDMI connections. The HDMI cables are included in the kit and the housing fits perfectly.
 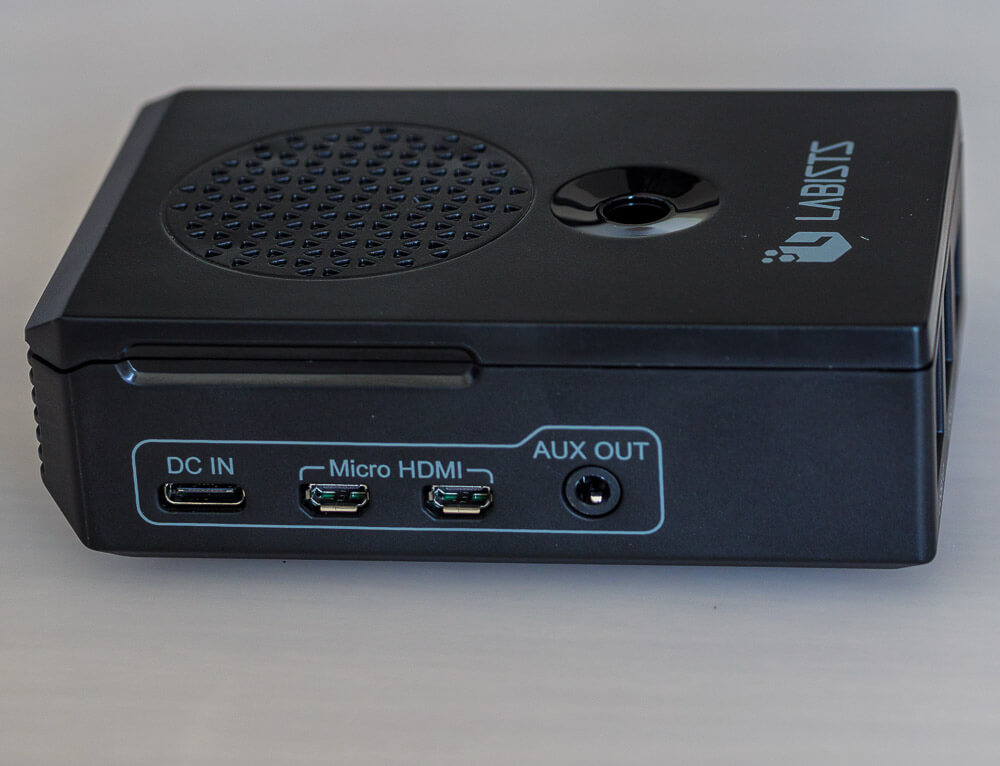 Assembling and installation is quite easy in particular if you already have practise in assemblig your own desktop pc.
Operating system
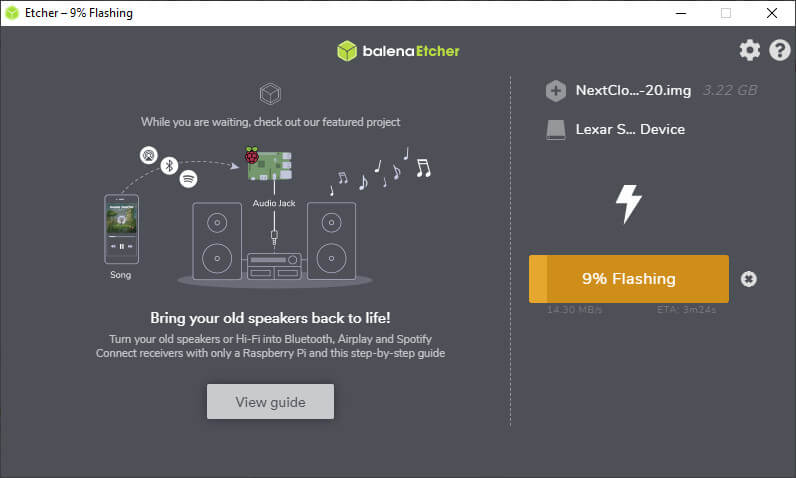 Raspberry Pi can run different operating systems so for example a Linux or a Windows installation. Since i decided to install a nextcloud installation i downloaded the complete package NextCloudPi . The package is a tar.bz2 archive which is very common in Linux environments. The only proble here was that downloading the image took a quite a long time, so maybe the internet connection wasn’t fast. With the help of 7zip the package can be unzipped on Windows systems. The image then is flashed to the SD card with the help of the Belaner Etcher tool. Prior to the first boot i installed 1 TB harddrive to the USB3.0 connector. After a couple minutes the installation is done and you access the Nextcloud administration web interface. A connection via http://nextloudpi.local didn’t work in my installtion but you can access the web interface with the IP address.
Availability on the internet
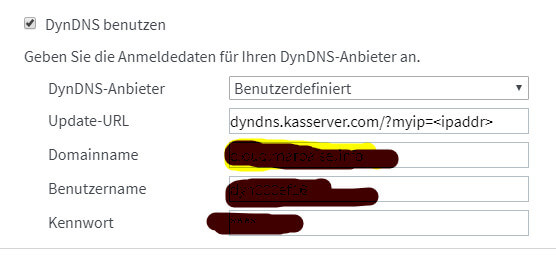 To reach the cloud from the internet the DNS record must point to your local IP address. The are a couple of service providers to add the own IP address which is changed every 24h to the DNS system. I could use a service from my internet hoster which had the advantage that my cloud installation is reachable with my own domain. You have to aplly the settings in your router to change/update the IP address. And of course the ports 80 and 443 must be reachable from outside the local net.
Problems
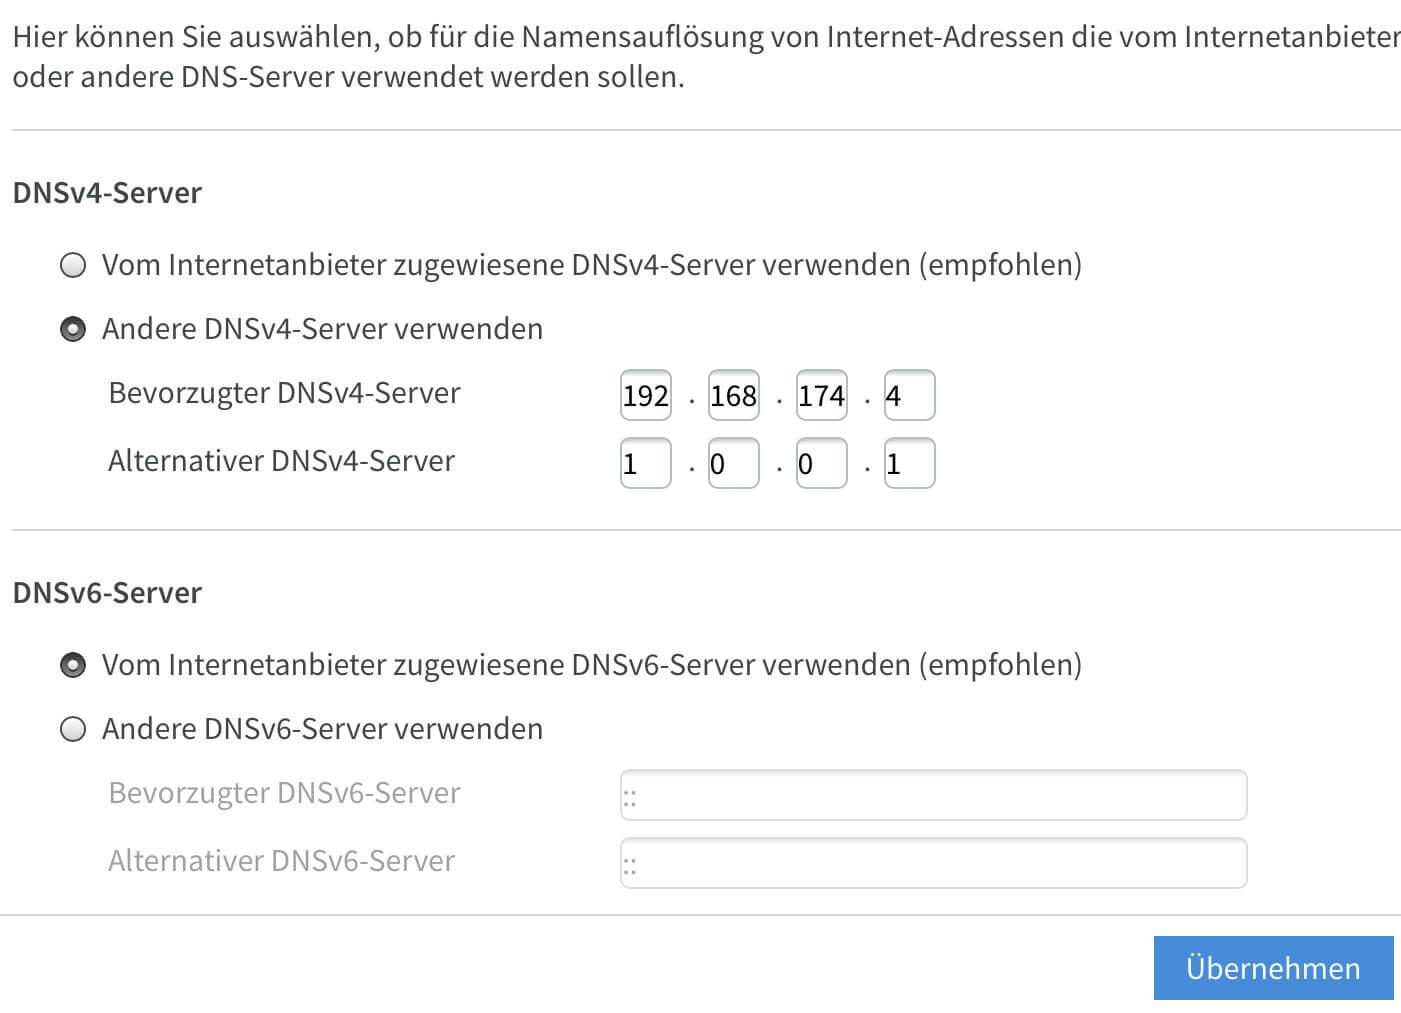 A small problem was that the Nextcloud clients warned about the certificate was not valid. But this is needed to establish an encrypted connection. The NextCloudPi admin panel already lists LetsEnCrypt to install a valid certificate. The second problem occured when trying to reach the cloud in my local network. But this could be solved by installing DNSMasq and adding an entry for the local net. After manually changeing the DNS server everything worked fine.
Conclusion
Setting up your own cloud at home with a Raspberry Pi kit and the installation image for NextCloudPi is pretty easy. Since the data transfer rate in a Windows network only reaches arround 50 MB/sec i would not advice such a setup for a NAS, but for the cloud installation it is sufficient. ciao tuxoche


