Luminance masks in Photoshop
Sometimes you run into the situation were you’ll judge a photo to be good, but even if the process version 2012 from Lightroom offers a lot especially on the highlights and shadows, but something is missing, a little more contrast here, a little more saturation on another area.
In the article [post id=282]Process your images with Lightroom again[/post] i allready showed, that it does make sense to process older images with the new process version 2012 again.
But there are some images where the capabilities of Lightroom are not enough or local correction are too much of a hazzle or not precise enough. I show you an example
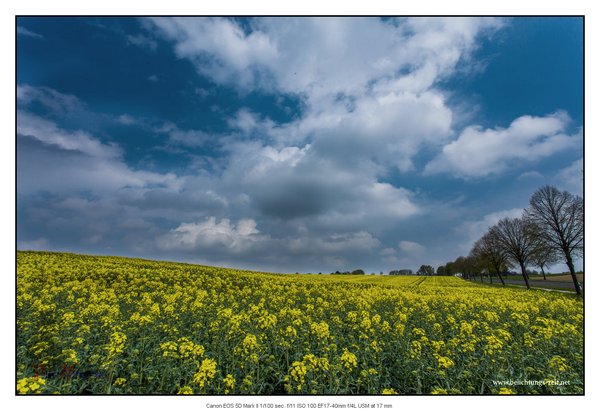
This image was processed with new the process version 2012 in Lightroom and additionally local corrections were applied, but i wasn’t really satisfied with the result. I searched for a possibility to make the changes for the different local corrections more smooth. What i found were article about the luminacne masks in Photoshop
In the article from Jimmy McIntyre the definition of such masks is explained pretty goof.
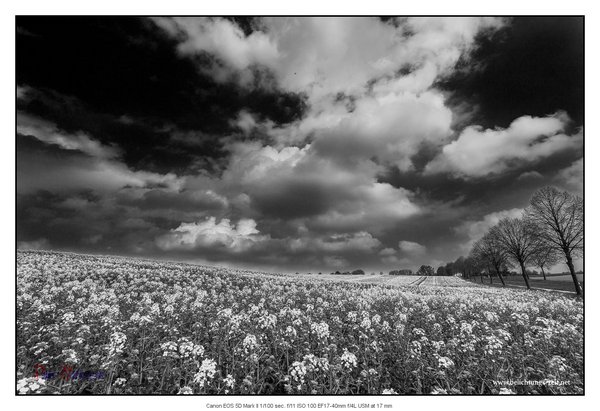
The advantage of these masks are obvious, local corrections like contrast,dynamic or saturation can be applied to diferent areas of your image and the changes between the corrections are a lot more smoother. Applying those corrections to the above image the result could be something like this.

Since Photoshop works with layers, you are able to later correct the result again, if you save the image with the layers. You can always give it a try if the image looks good in b/w
Clicking to the pictures will show them in a higher resolution.
Of course it’s a matter of taste, like always doing image processing. I did a couple of my older images with this method, and i like the results. I’ll save the resulting image with all layers, just in case i want to change something later on. Saving an image with all layewrs results in greater image sizes. The above example requires something like 1,2 GB in total, saving it with the LZW option only 500MB are required.
To save you a litle bit of time you can download a ready Photoshop action file here (CS6 but i assume/hope it works on older versions too), so maybe you’ll try on some of your images. Maybe you like the results and share your experiences here on the blog.
ciao tuxoche


