Affinity Photo 1.7
Affinity Photo 1.7 was released 2 weeks ago and after its quite a bit of time i reviewed version 1.5 it was time a take a look on the new version.
Introduction
 In the last week review i pointed out that i’m checking the new version Too bad that this test was over right away, because opening raw files were display way too dark. I tried to get help in the official affinity forum but they couldn’t help. Maybe this was caused by the fact that there is a trial version available but the trial period is 10 days only. Counting the weekend there a re 8 days only.
After this first disappointment i downloaded version 1.7.1 which was released shortly after version 1.7 and installed this version on a freshly installed laptop.
Improvements
The improvements in the new new version are listed here. and refer to performance gains, support for HDR displays and other improvement in the modules of the program.
The minimum hardware requirements for a Windows system with 4 GB of RAM is in my opnion not enough because on my laptop with 8GB of RAM and a SSD installed working on images was rather slow.
I did a small video on Affinity Photo 1.7:
RAW-Processing
Loading a RAW file will open the so called develop persona of Affinity Photo.

Here you got all the tools you need like exposure, saturation, contrast and so on. Even though i activated my graphics card all changes to the images were displayed with a little delay. This step is pretty much comnparable to the Camera RAW converter if you process a raw files in Photoshop CC,
Photo Persona
After raw processing you can switch to the Photo Persona:
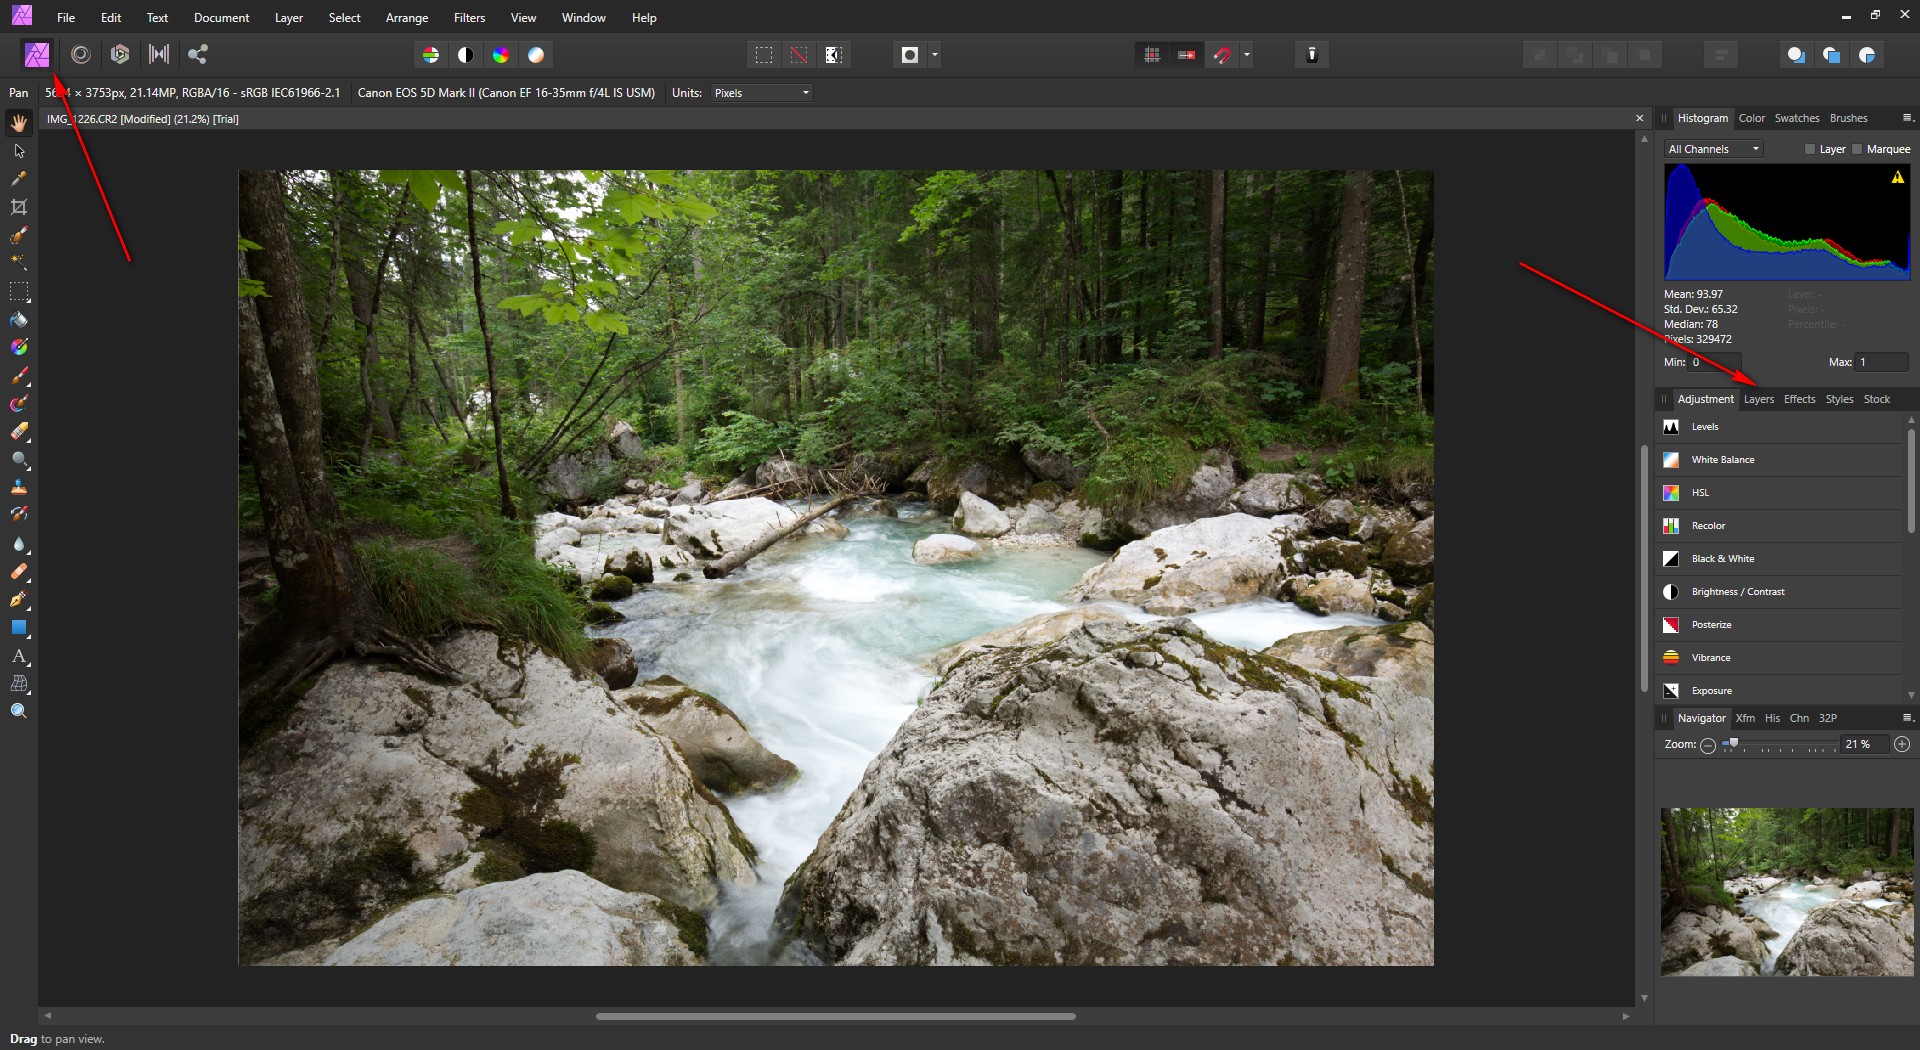
In this modul layers and masks are available for applying local changes to an image.
HDR
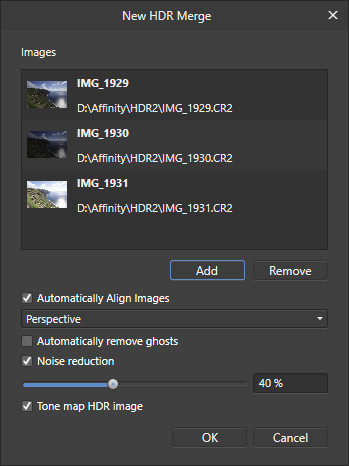 Just like in version 1.5 Affinity Photo 1.7 offers the facility to merge HDR images from a exposure sequence. The images from the sequence are selected from a dialog and then merged.
The images are automatically aligned just in case you didn’t use a tripod and you can remove ghosts. But there nother options to influence the result of the HDR merge process, so this is restricted just like the process in Lightroom Classic.
The merge process does take some while even if you selected 3 images only. The process is done with the steps alignment, noise reduction and at last tone mapping.
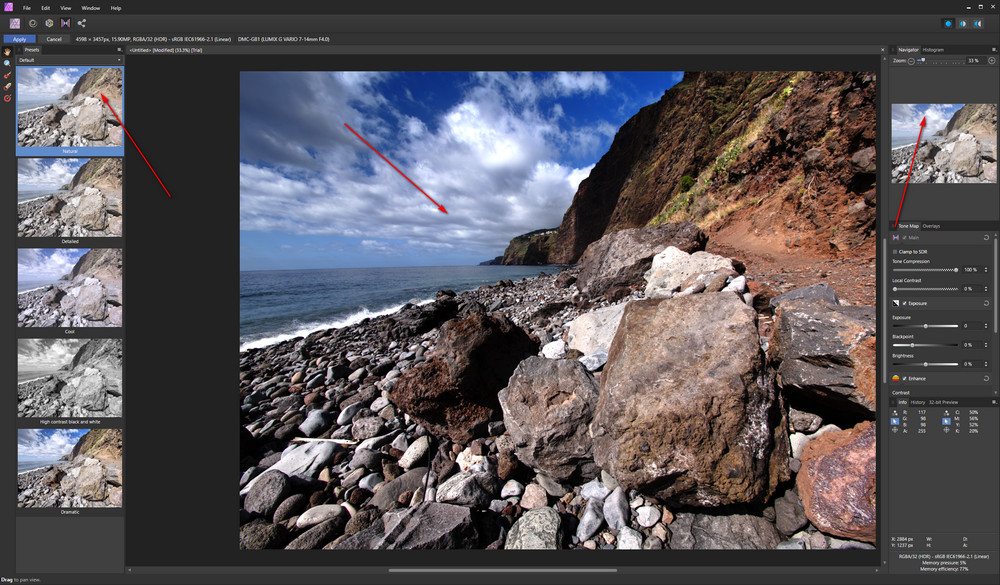
The presets available for different kinds of tonemapping don’t look the same in the preview and in the main window.
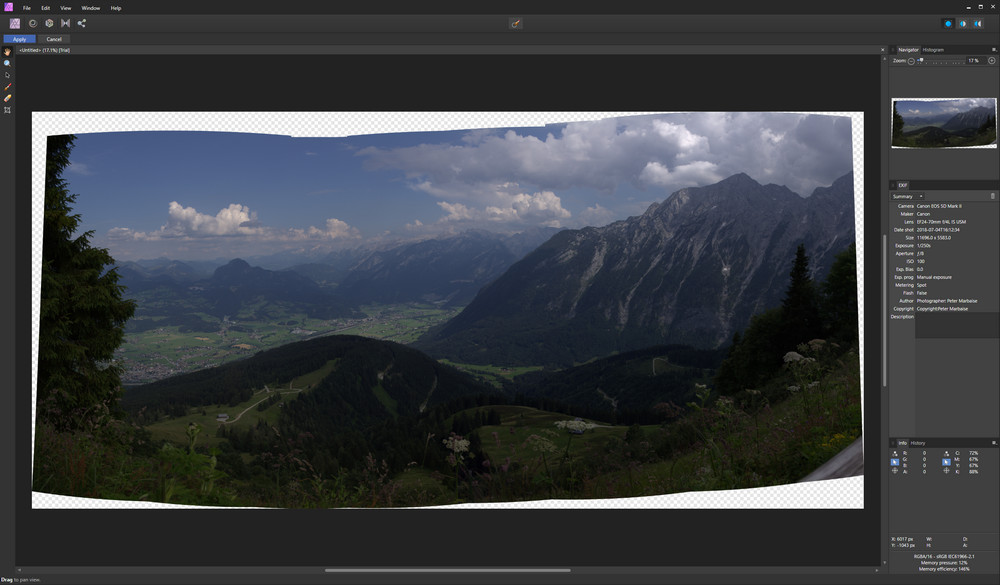
Panorama stitching
Affinity Photo 1.7 is able to stitch simple (single- and multirow) panoramas. The selection dialog is almost the same and just like with HDR the process is quite slow.
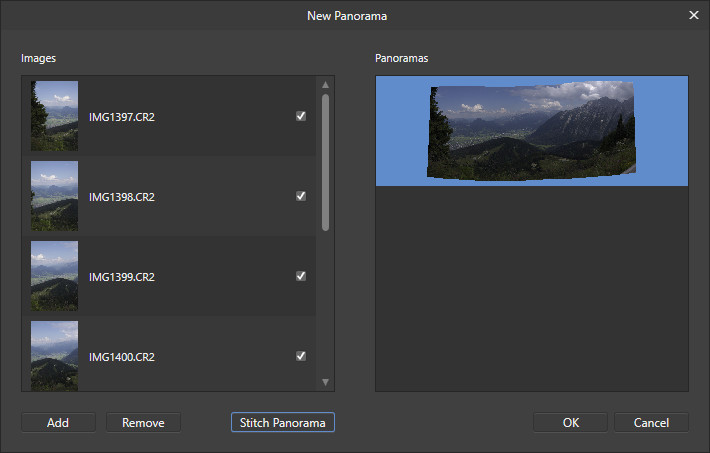 After this preview is stitched the final result is merged. Automatic functions like an automatic crop of the resulting image are missing.
Conclusion
Affinity Photo offers some improvement in details but the general performance still is a problem. On the other hand the program is sold for 43.00 € at the moment and is available for Mac and Windows systems.
In my opinion Affinity Photo is not a general raw converter because all changes to an image are stored in a own fileformat and thge size is arround 175MB without using any layers. And thats a little bit too much at least too me.
ciao tuxoche


