Openmediavault and Proxmox Backup Server upgrade
If you follow my blog, you know that I store my photos and videos on an Openmediavault server. Now version 7 of Openmediavault has been released and it was time to upgrade the system.
Introduction

I chose Openmediavault as my NAS operating system because it is easy to install and manage and is based on the Debian distribution. At that time it was still a RAID5 array, later RAID5 was replaced by Snapraid. After that I tried several systems like Truenas etc. but then I stayed with Openmediavault, but then I switched to ZFS.
Due to the Proxmox server, I then decided to install the Proxmox backup server on the Openmediavault server, as ZFS provides a stable file system and, with just under 18 TB, also enough space.
This works very well, but Openmediavault is now available in version 7 and the Proxmox Backup Server has also been upgraded to the next major version. So it was about time to upgrade the NAS system.
I recorded a video about this:
Preparation
First of all, of course, you need a backup of the running system. This is explained very well in this blog post. I run such a backup twice a week so that I always have a backup of the system drive. I have only copied the current backup to a USB drive as a precaution. The blog post mainly provides instructions in case something goes wrong with the upgrade.
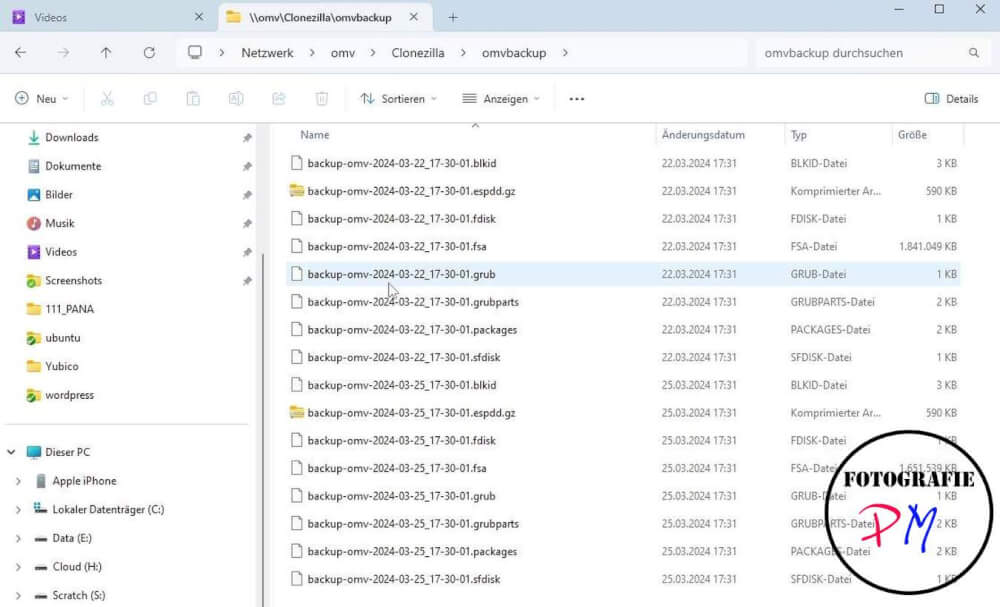
Fortunately, there are very few reports of problems with the upgrade.
Openmediavault upgrade
Then log in to your Openmediavault server via SSH. This can be done either with Putty or with any other SSH client. Of course you can do this with physical access directly on the server.
There you enter omv-release-upgrade.
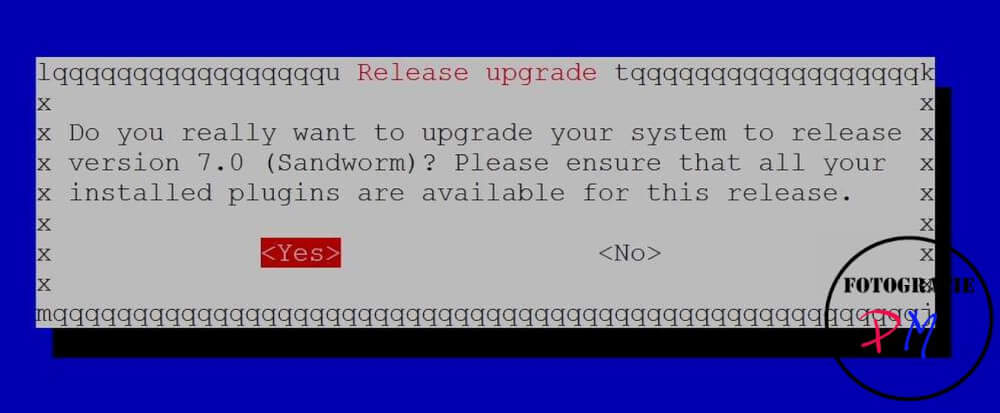
And of course you say yes here and then you are ready to go. A lot of new package sources are then downloaded. I only got an error message because the repository for the Proxmox Backup Server is also entered in the /apt/sources.list and the tool could not verify the signature.
The upgrade then runs and around 450 current packages are downloaded, unpacked and configured.
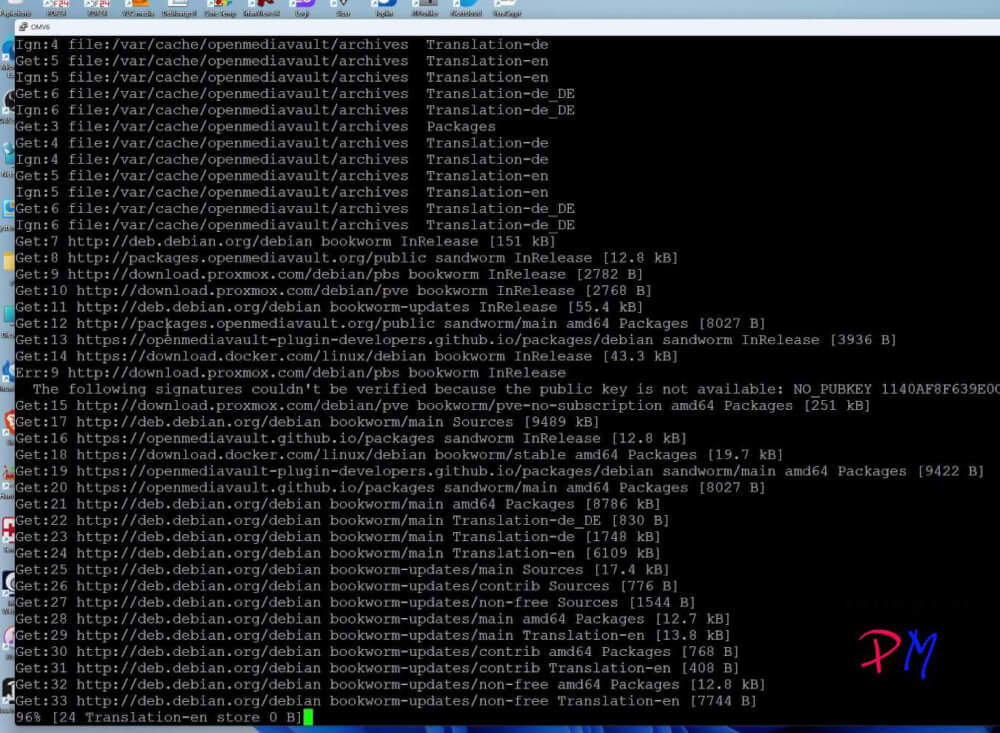 This can take a few minutes depending on your internet connection. You are then asked to restart, which I did. Openmediavault then presents itself with a new screen.

And if you then look at the dashboard, you will see that it is version 7.04. All settings have been retained, even configured services such as email notifications or USB backup are retained. And of course you can immediately access the ZFS pool.
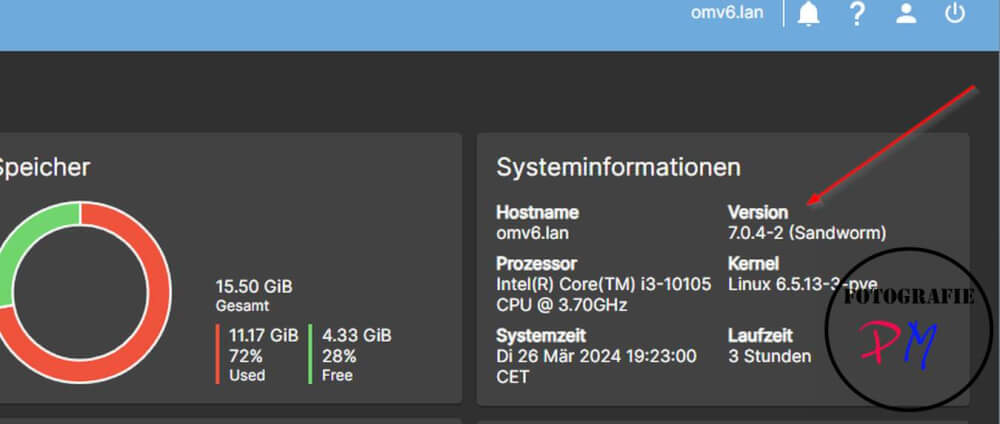
Then we have to update the OMV extras with the command wget -O –https://github.com/OpenMediaVault-Plugin-Developers/packages/raw/master/install| bash .
Proxmox Backup Server
The PBS is now available in version 3, so an upgrade is also recommended here. The upgrade process is well documented here. The replacement in the sources.list was not needed, as this was obviously already done by the previous upgrade of Openemediavault.
During the upgrade process there was an error message about the missing signature. This can be downloaded as follows:
wget https://enterprise.proxmox.com/debian/proxmox-release-bookworm.gpg -O /etc/apt/trusted.gpg.d/proxmox-release-bookworm.gpg
You can then use the app ist-upgrade to download the packages for the Proxmox Backup Server.
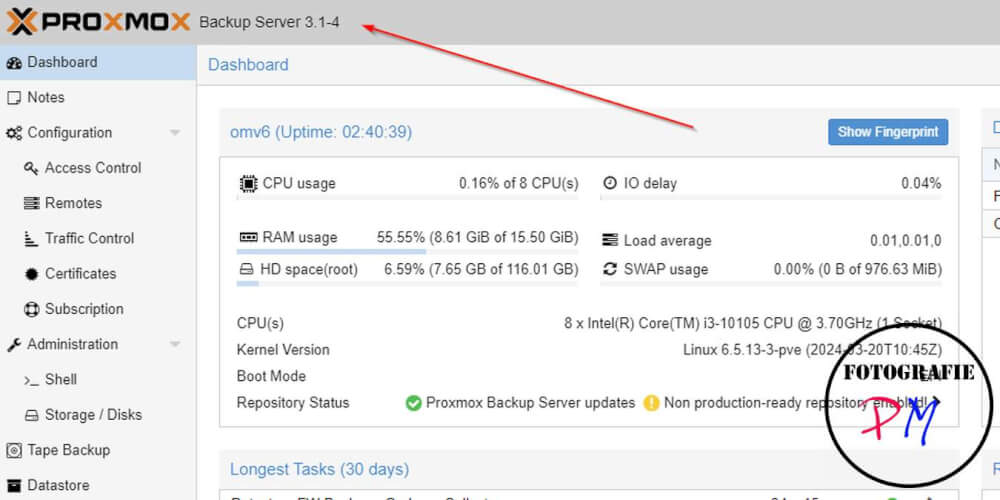
And then we have the PBS in version 3.1 and everything runs as usual.
Conclusion
The upgrade of both components was actually quite simple and above all problem-free and thanks to the good documentation, the error with the signature of the repository could also be solved quite quickly.
ciao tuxoche


