Capture and edit panoramas
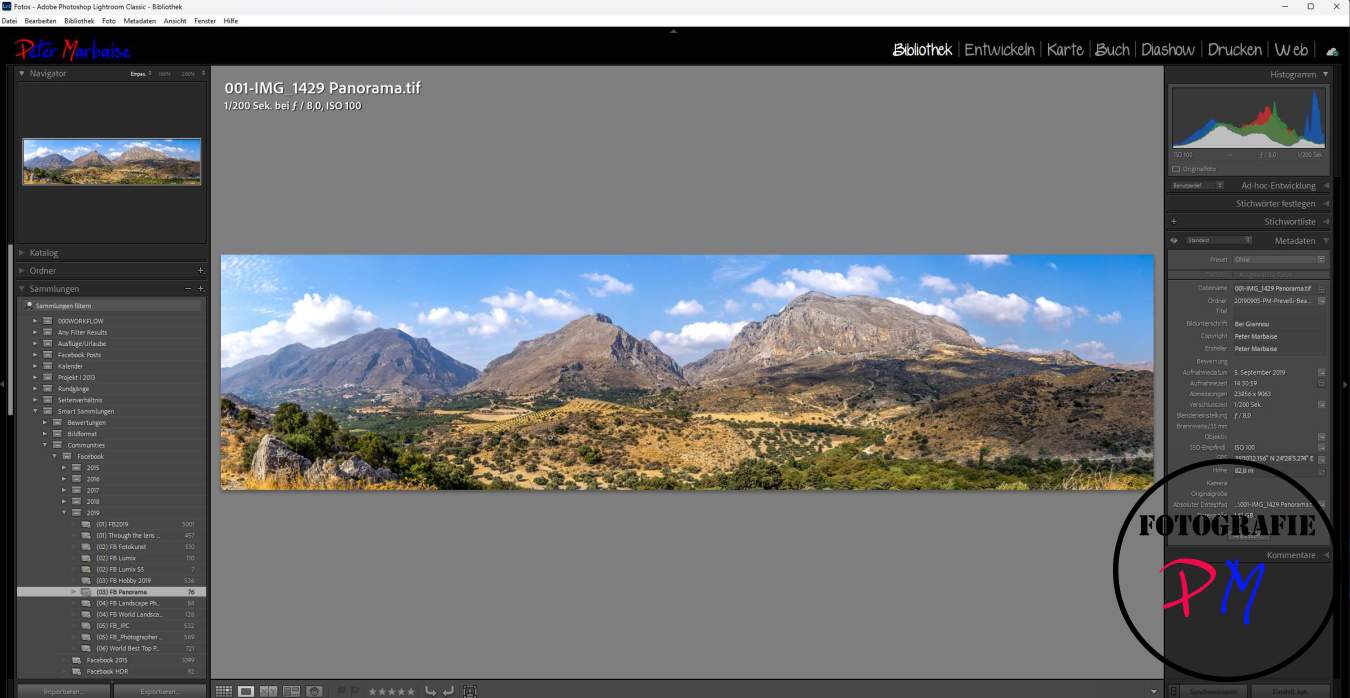
We all know them, the wide images, some of which have extreme aspect ratios and always consist of several shots. This article is about how to take them and then edit them.
Introduction
We all know them, the shots of breathtaking landscapes with an equally breathtaking aspect ratio. While there used to be special cameras in the analogue era, this is no longer a problem with digital photography and editing.

This article is not about the so-called spherical panoramas, which depict an angle of view of 360°x180° and also require a little more effort to take and process. It is about shots like the one above, which consist of 3-4 or even more individual shots.
Requirements on the recording side
The recordings can be made with any DSLR or system camera as long as it can be manually adjusted in key points.
These points include
White balance
Exposure
Manual focus
I have taken some beautiful panoramas using this approach with various Canon cameras and recently with Lumix cameras, regardless of whether they are mFT or full frame.
The exposure is measured on a medium-bright section and the camera is set to manual so that a different exposure is not taken for each image. It is best to set the focus to infinity.
Almost all cameras can display a grid of 9×9 fields in the viewfinder. This is relatively ideal because you can then very easily set the usually 30% overlap of the images when panning.
Taking pictures
Once the settings have been made, stand up and pan between each picture so that the last third of the picture is visible as the first third in the next picture. I take almost all of these pictures in portrait format.

In my opinion, moderate wide-angle lenses, around 28mm, have proven to be ideal. You can try using shorter focal lengths, but then more ground will be in the picture even when the picture is horizontal and, depending on the condition of the ground, this can cause problems when composing the pictures.
Realistically, at least for freehand shots without a nodal adapter, the limit is around 100mm and longer.
Stitching panoramas
Putting the pictures together, or in modern terms stitching them, can be done in Lightroom, Photoshop CC or Luminar NEO, for example. At least when it comes to single or multi-row panoramas, the programs are fine.
If you want more control, you might be better off using programs like PTGui. These can also put spherical panoramas together. This also works with the free clone Hugin.

Hugin is a bit slow compared to the original PTGui, for example, but can definitely keep up in terms of functionality..
Further processing
After stitching, the finished image should be saved either as a DNG like in Lightroom or as a 16-bit Tiff so that you can then edit it further.
And with a little practice, you will have an impressive collection later.

Conclusion
Single-row panoramas in particular are very easy to take if you follow a few small rules. And the subsequent processing is not really difficult either. Lightroom, Hugin or Luminar NEO usually require hardly any manual intervention for the stitching to work. This can be a little different with spherical panoramas.
ciao tuxoche


