Processing a timelapse video
In this blog post we want to talk about processing a timelapse video using Photoshop CC und Da Vinci Resolve as a example.
Introduction
 In the first part of this article i showed how to capture a timelapse video with a smartphone, the Lumix G81 and the Canon 6D MK II . The cameras are only as an example, you can use any camera either with built-in intervalltimer or any other camera which allows the use of a cable release.
The initial situation is that you import all images from the sequence into Lightroom and process them first. This could be a couple hundred images even for a short timelapse video. After processing you export those images as JPEG.
I did a small video on this:
Photoshop CC
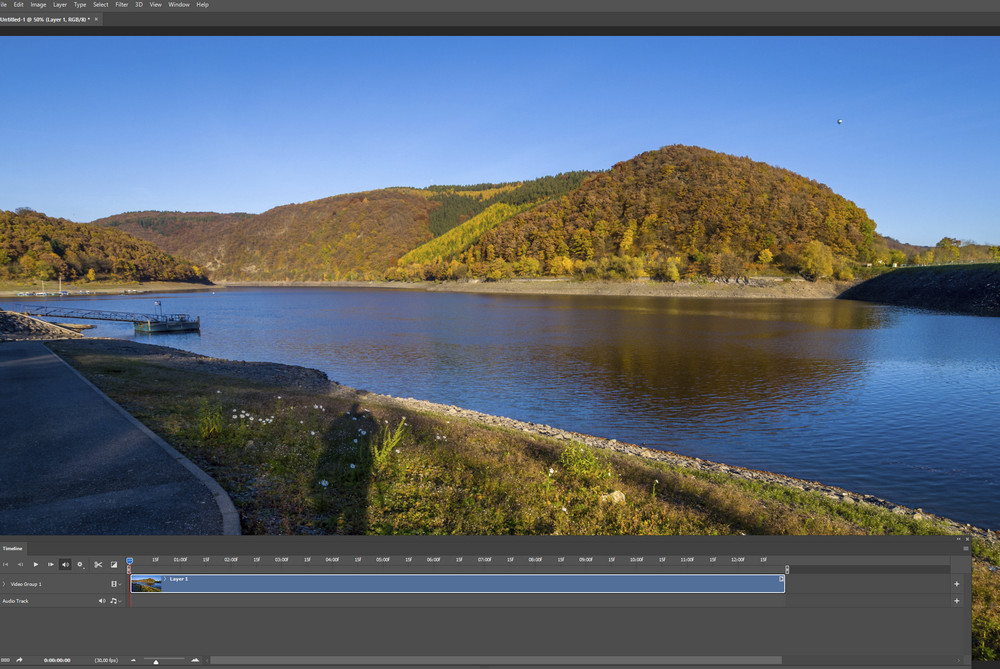
 If you won a photography plan from Adobe than you probably have Photoshop CC installed. Even though Photoshop CC is more an image processing tool it also can work with video files.
If you plan to pan or zoom-in in the timelapse i advise you to export the JPEG images in full size so you have the deserved reserves in resolution.
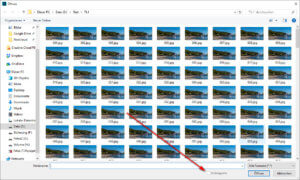
The images are opened with the dialog “Open file” and set the check to “open as seuqence”. This works if all the images have continuous sequence number as aprt of the filename. After that you only have to choose the frames per seconds.
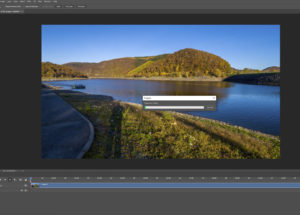
After this the sequnece is shown a video track.
With the help of keyframes at certian points you can start to pan or to zoom-in to add addtional impact on your timelapse video. At the end you only have to export the video in the desired resolution/framerate.
Da Vinci Resolve
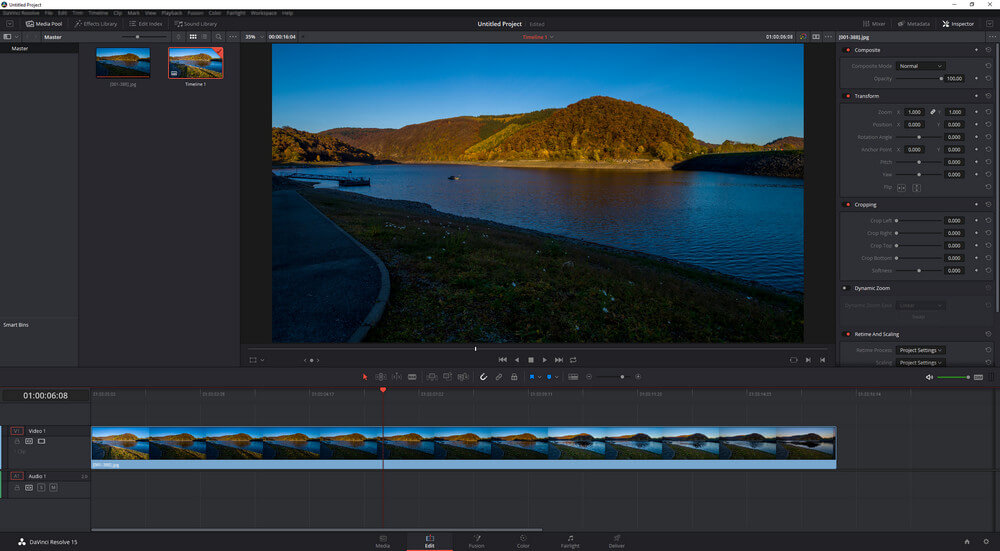
The program is available in two different version, the studio version and a free version. For our purposes the free version is more than sufficient. Just import the image sequence into the media pool and from there to the timeline.
And just like in Photoshop CC you can define keyframes for panning or zooming-in effects. As a final step you go to Deliver and render the video in size and quality you need.
Conclusion
 Rendering a timelapse video from a sequence of images isn’t difficult and there probably a lot of software products which can do the same job. And of course you can an audio track if you like, its just up to your creativity.
Using RAW files as a base material offers more capabilites to open up the shadows or bring sown the lights. And besides this we have enough resolution to pan or to zoom-in even in 4K videos.
What do think about this workflow or is a smartphone generated timelapse video good enough for your needs. Let me know in the comments.
ciao tuxoche

