Equipment for the MacBook Air
After I took the step towards MacBook Air for a new laptop, the question of what you need besides the actual device naturally comes up here as well.
Introduction
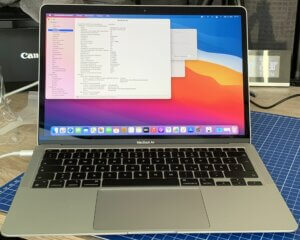 I bought the MacBook Air with 16 GB of memory and that turned out to be the right choice. But the MacBook only has 2 Thunderbolt ports, so it’s not exactly lavishly equipped. But you will still miss one or the other accessory and look around on the ready market.
Things like additional ports, especially for an external drive with considerably more capacity than the internal SSD with 256 GB, come into question.
II have now so far set up my MacBook and set up the necessary programs such as Lightroom, Photoshop but also Da Vinci Resolve, but still have just under 200 GB of free storage.
Regarding the devices I use I have recorded a little video:
Mouse
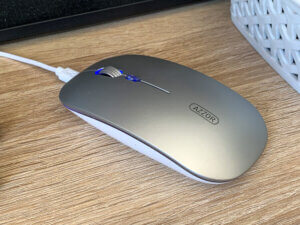 The trackpad on the MacBook Air is excellent, although it handles differently than a corresponding pad on a Windows notebook, especially when it comes to gestures. Nevertheless, the desire for a mouse arose.
Of course, the mouse should not occupy any of the Thunderbolt/USB ports, so only a mouse that can be connected via Bluetooth came into question. Otherwise, I could have used my Logitech M705, which I still had.
I therefore ordered a rather nameless mouse from Amazon, which can be connected via Bluetooth as well as via Dengle and is charged via USB-C. It is absolutely sufficient for traveling. It is absolutely sufficient for on the road. For home I have the Logitech MX set, which can be connected very easily with another device.
External drive
I deliberately bought the MacBook Air with only a 256 GB SSD. This is also sufficient if you use an external hard drive for photos and videos. I first got an OWC Envoy Express enclosure, which is quite easy to equip with an NVMe SSD. A 1 TB Sandig was very easily mounted and delivered very good results in terms of access speed (reading just under 1,500 MB/sec).
There was a catch, though, as I couldn’t access the drive under Windows because it wasn’t recognized. And since I am at home in both worlds, even such a fast drive was of little use to me. The choice therefore fell on an ICY Box enclosure for an M2 SSD.
Even though I only achieve 750 MB/sec here compared to the OWC enclosure, it’s still enough to process 4K material directly from the external SSD.
USB Hub
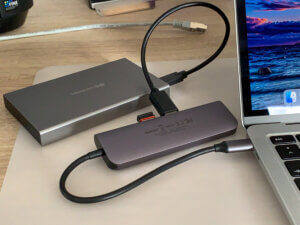 Since the MacBook Air only has 2 USB or Thunderbolt ports, you need a HUB to connect more drives or to have a card reader available and maybe connect an external monitor via HDMI. And here, the selection is truly enormous, both in terms of price and the type and number of ports provided. After a model from UGreen, but where I had problems with a USB port, I opted for a model from Anker.
Here I also had problems when I wanted to operate 2 drives together, because here the data transfer rate collapsed. With HDMI I had not thought about the fact that my Dell U2711 offers only 1920x1080px as maximum resolution when connected via HDMI. Therefore, I had already bought a USB-C to DVI adapter separately.
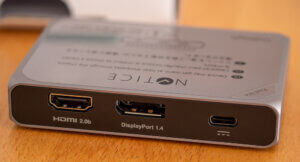 After some research, I finally decided on the CallDigit SOHO Hub, which also offers a Displayport in addition to HDMI. To make my odyssey complete, the first of these hubs had issue with the regular USB-A port delivering only 35-45 MB/sec. But after an exchange, the 2nd unit ran flawlessly. However, the CallDigit does not have an Ethernet port. Here I got a corresponding adapter from Anker, which works flawlessly.
Laptop stand
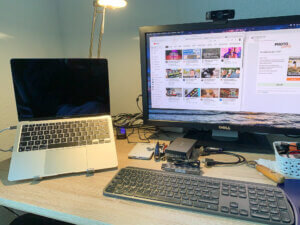 The last small accessory I picked up was a laptop stand, which is foldable. With it, I can place the MacBook Air on the desk and still have the space underneath to place the hub with another external drive.
The MacBook is then connected to the Dell U2711 via Displayport and I can, if I want to, also have the Windows computer connected in parallel.
This makes it very nice to work with the MacBook Air, especially with programs that simply need more monitor space, such as Lightroom or Da Vinci Resolve.
Conclusion
With a little bit of accessories, you can upgrade the MacBook Air to a real workhorse, even if I personally was probably unlucky with some parts this time.
ciao tuxoche


