Graphical watermarks with the mogrify plugin
In the todays article wee’ll take a look on how to place graphical copyright watermarks within the exported photos with the Mogrify plugin. The copyright markers should be sort of discreet.
The requirement is to place the watermarks within the picture.
 Starting point was my name in my prefered font Ellianarelle’s Path, which can be downloaded free of charge. This writing was placed into a transparent background with Photoshop to assure only the writing should be placed into the exported image.
Instead ogf the writing you could use a logo or something like that into your image. Anything you choose must be placed on top of a transparent background, you can do that with gimp for example, you don’t need necessarily Photoshop. Writing or logo are saved as PNG file.
To place a hint to my website i decided to set the writing in white color font, so obviously i can’t show an example here, because white font color and a transparent background 😉 you won’t see very much. But there a download link to a Photohsop PSD file at the end of the article for you as a starting point.
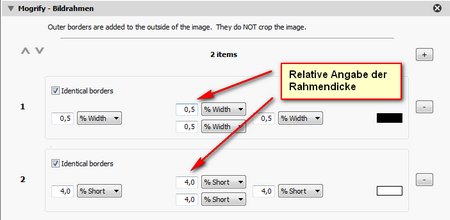
Now the mogrify plugin comes in. As a basis i define a combination of one black inner and a wider,white outer frame.

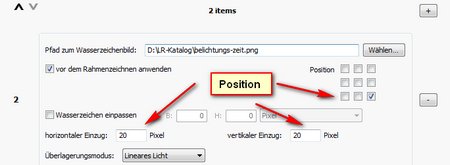
Now we place the two graphics within the image. The hin to the url is placed in the right,lower corner. With the parameters horizontal/vertical insert i can determine down to the pixel the deplacement. Important is the overlay mode “Linear light”. This overlay mode takes care of recognizing the writing even on a bright or almost white background. As a wish list i would add a parameter opacity, but this feature isn’t implemented (yet) with graphical watermarks.

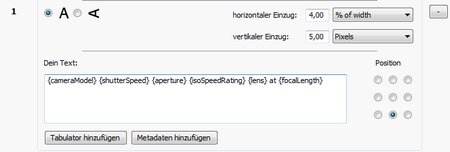
As a last action we put part of the exif metadata into the image with a little help of the “text annotations”

I add camera modell, exposure time, f-stop, iso, focallength and lens.
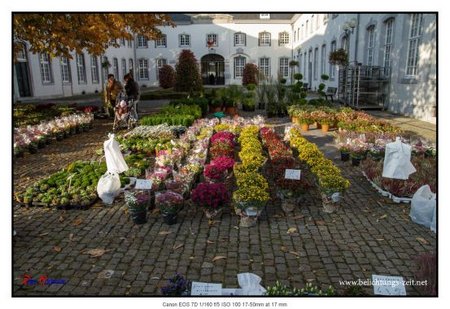
Within the text annotations we can define the opacity. You apply this according your taste, i use an aopacity of 70%. And here is the result:

This is the way i export my images to my photo blog, but meanwhile i also use it on images prepared for a publication to flickr, because you can apply mogrify settings with the flickr export plugin.
The mogrify is a powerful and yet a very flexible tool to manipulate an image. But you must decide yourself how to setup your image export with the mogrify plugin, i just wanted to a couple of hints.
If you liked the article i would appreciate a +1 oder Like Share. If you any questions place them in a comment.
ciao tuxoche
Download: PSD-Datei


