Openmediavault for the own NAS
From my former times and experiences with Linux i run a Linux system as a NAS which meanwhile doesn’t run 24/7 because its the first backup only.
Introduction
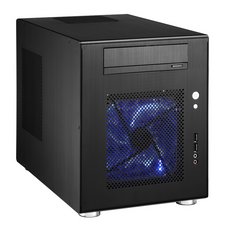 My NAS is a desktop PC with an installed Debian distribution serve as a NAS for backups mainly for images and video clips. This server is powered up by Wake-On-LAN as needed and shuts down automatically if certain clients are not in the network any more.
Other services like a database or an Apache webserver are not used any more. For backups of my images and video clips i use a RAID 5 with 3 phxsical harddrives. A SSD is used as a boot drive for Debian 9 system. This system is easy to take care off, just once in while a apt-get update/upgrade and looking for the log files and this is all.
Warning email
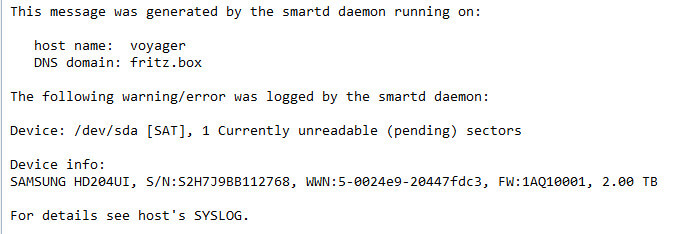
A couple of days ago i got a warning email from the system (smartd daemon), notifying me about one of the harddrives in the RAID 5 had unreadable sectors.
In a RAID 5 combination one harddrive is allowed to fail, but anyway this was the signal i had to take care off. Since i had to substitute the failed harddrive anyway i decided to install openmediavault.
I did a little video on this:
Openmediavault
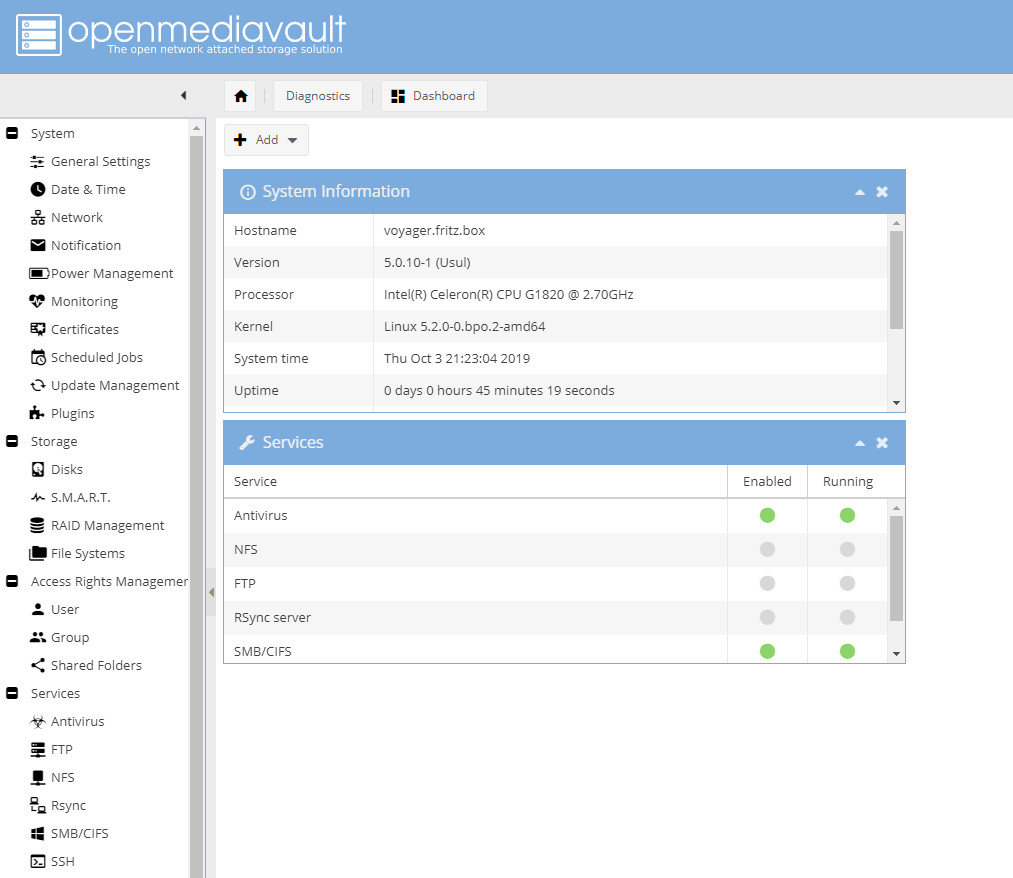
Openmediavault is a open source operating systems specialized on NAS systems which is based on a Debian distribution. Administration is done via a webinterface.
I downloaded OpenMediavault 5 as a image which then must be copied to a USB Stick with Etcher or similar software. I used a 2 GB Stick for this.
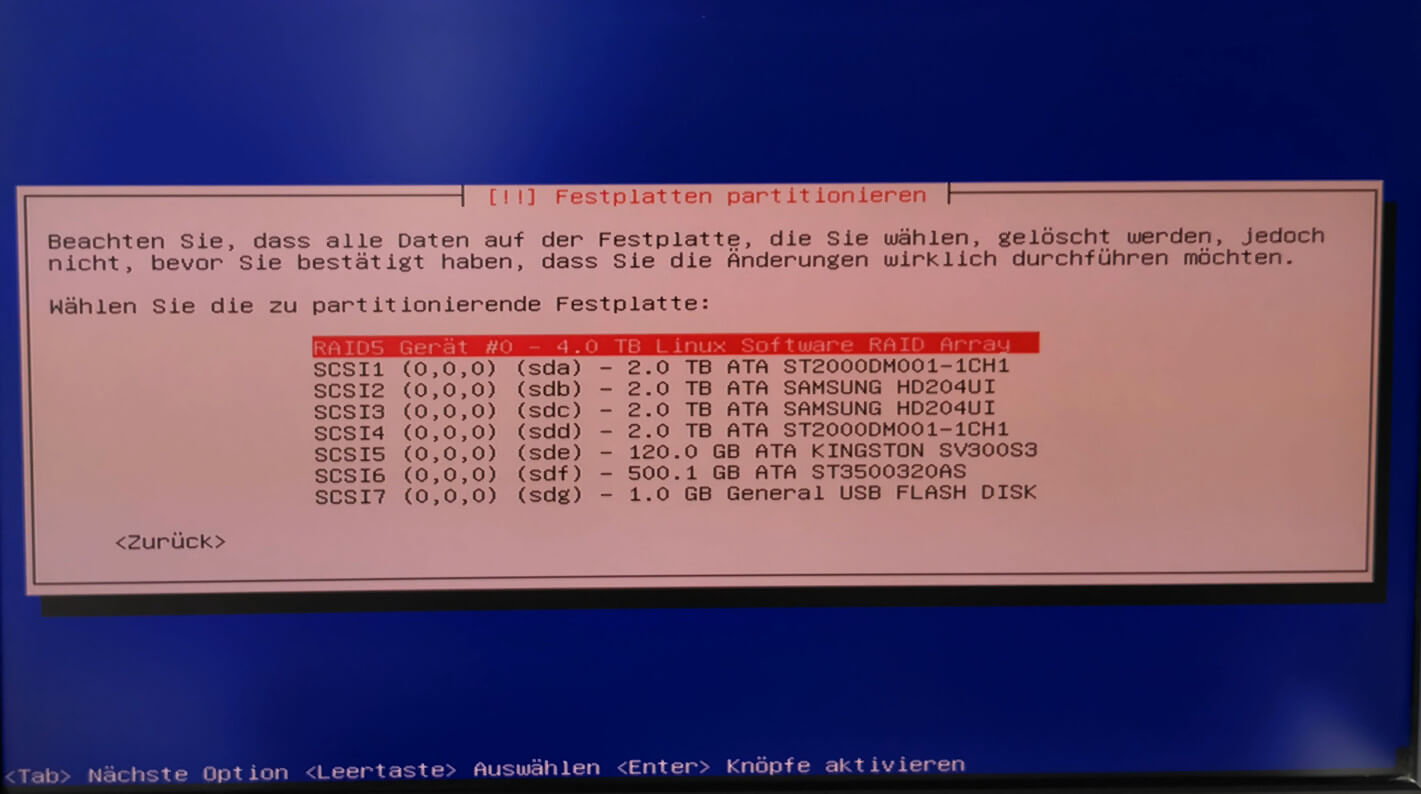
The installation is very guided and you only have to pay attention to select the right drive for the installation.
After the installation is done the system is restarted and booted from the boot device. Depending on your network configuration the Openmediavault server will get an IP address via DHCP or you setup a fixed IP address. I’m doing a sort of mixed thing, the server gets its IP via DHCP but i configured my router to give always the same IP address 198.168.178.2. With this IP address you can log into the server via a browser.
Setup
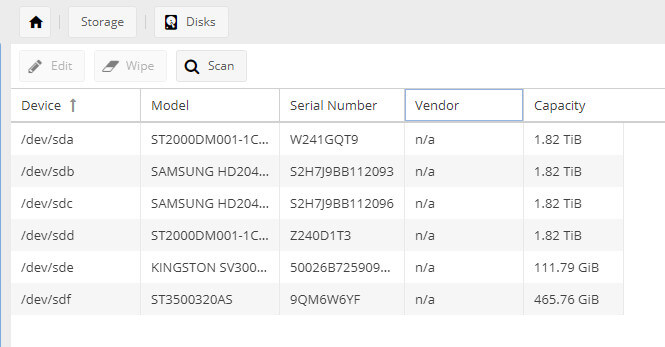
This i substituted the failed harddrive but i also installed an additional harddrive to the RAID5 to get more storage space. All partitions on the harddrive were deleted and then the RAID5 was configured for the 4 equal sized harddrives. Synching the RAID5 took arround 8 hrs.
After this i restored my backup:
I did this via network. Normally i would have been faster to attach the backup drive locally but the mainboard only offers 4 SATA II ports which are busy by the 4 RAID5 harddrives.
OMV-Extras
There are a couple of plugins available, including the plugin Autoshutdown, which shuts down the server on certain conditions. Since there is so far no official package released for openmediavault 5 installation is done from the command line
wget -O – http://omv-extras.org/install | bash
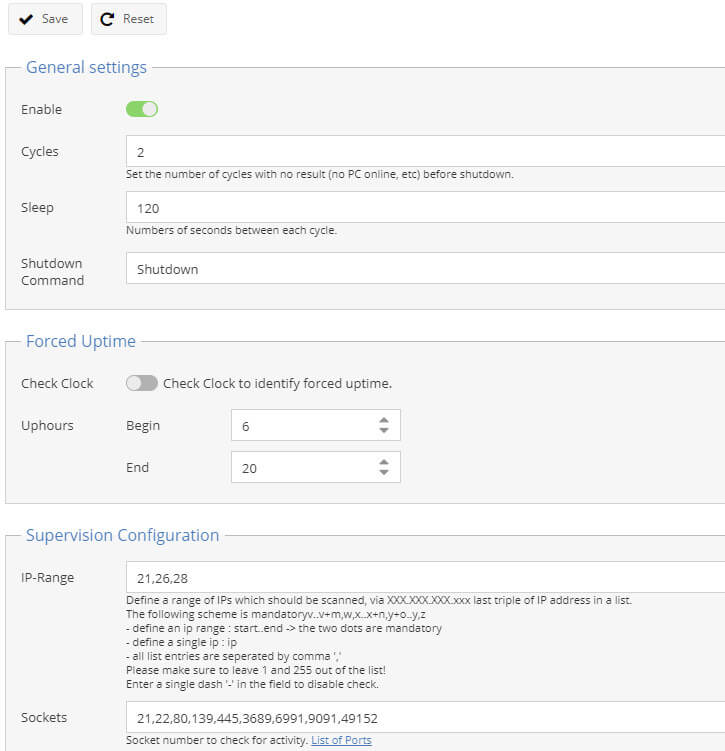
The installation worked out without any problem, so i could configure Autoshutdown
WOL Bug
While the Autoshutdown plugin worked prefectly i had problems to wake up the server by sending a WOL package. I anaylzed the start scripts and found that in one of the networking scripts the name of the network device had an error.
I manually inserted the right device in the script and now i can start the server from a Windows 10 system.
Conclusion
 The new sytem with Openmedaivault works pretty fine and with 4 harddrives in the RAID5 i got more storage space. Wake-On-Lan and Autoshutdown are working and the scripts i did for backups with robocopy are working too.
Administration with the website is very convinient but just in case you can of course SSH. For the installation of Openmediavault i could have used a smaller drive, but i used the 120GB SSD for that purpose.
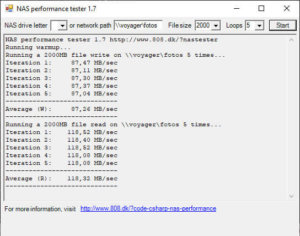
And i am staisfied with the speed of the new system, writing is just a little bit less compared to the old system and read speed is the maximum you can expect with a GB ethernet connection.
ciao tuxoche
