Fotoshooting in animal parks
Animal parks and zoos are popular destinations and you sure find a lot of worthwhile photo motifs.
But not that fast, there are worthwhile photo mtoifs, but there are a lot of problems to cope with. In the following article i want to gibe a couple of hints to increase the number of good pictures.
Visiting time
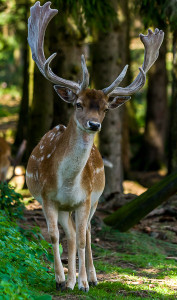
Freigehege Hellenthal
First of all you should avoid visiting an animal park in the holidays, because especially on days with good weather the parks are crowded and you won’t have the opportunity to find/place yourself in an ideal position to the animal. Weekends are bad times too. The best time for serious photography are the weekdays from mondays to thursday, because according to experience there the least visitors in the park. Of course if you have no other chances the like visiting a park on a weekend day, just do, but you have to be more patiened.
Good weather is fine, but avoid hot days, because most of the animals hide themselves in the shadow areas or even worth get into the inner compound.
Another advantage is day with at least a little bit of clouds to avoid to harsh contrasts between light and shadow areas in the resting zones of the animals.
Equipment
Most animal parks take a great effort in trying to supply an adequate animal housing which results in pretty big open-air enclosures maybe combined with a moat or in glas or fence enclosures for those animals which cannot be kept in open-air enclosures.
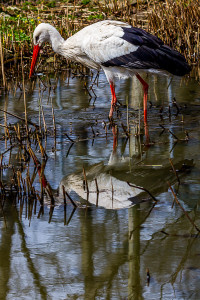
Aachener Tierpark
Since we don’t watn to take overall pictures but animals and since its an animal park filling (almost) the complete frame telephoto zooms lenses are a must. You should take at least a 70-300 mm zoom lens, according to the situation a 70-200mm on a APS-C sensor camera might be enough. Personally i take my 100-400/4.5-5.6 L lens on a Canon 7D or a 5D MK II. Since there might be a couple of interesting insects or flowers along the way, you should take a macro lens with at least 100mm focal length with you. All other lenses can stay at home 😉
Since a 100-400mm telephoto is getting heavier the longer you carry it arround or waiting for the right moment i use a monopod Manfrotto 679B. If you don’t own a monopod you can take your tripod, but this will increase the weight and it’s not as comfortable as a monopod.
Camera settings
Generally taken pictures requires to obey the same rules as taking other pictures. But since there are opportunities taking pictures in pretty dark shadow areas i set ISO up to 400 and choose aparture priority (i’ll choose the aparture and the camera takes care about the shutter speed). If a scene is even darker there is no problem going up with ISO to 800 or even 1600. Auto focus is set to following focus mode.
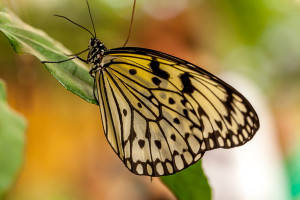
Schloss Sayn
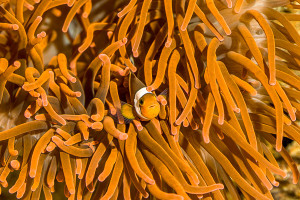
Aquarium Köln
The already mentioned monopad also helps in dark aviaries or terrarium to avoid the use of a flash gun (and you shoul avoid a flash gun ever, even if it is allowed to use). And you see it on the images, if they were taken using a system flash, so you should really forget about it.
In the aprture priority mode i choose an maximum aparture of f 8 with the Canon 100-400/4.5-5.6.
This setting result is short shutter speeds for real sharp images with any movement blur. You should test out the limits for the darker seasons of the year with the different stabalization methods (IS,VC,OS,OIS or whatever your system is called) and the usage of a monopod.
Motifs
You should not take pictures of the animals with a high viewpoint, take a viewpoint in the animals eyes height. This means sometimes you have to crouch down or go even deeper 😉
Fences
Even a very modern animal park will not get along using fences in the one or other enclosure, and fences mean problems for the photographer.
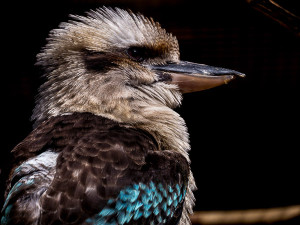
durch weitmaschiges Gitter fotografiert
The closer you get to the fence the narrower the mesh size can be. The limit is somewhere arround the diameter of your front lens. But it also depends on the distance of the animal from the fence on the one hand and the distance of the background to the animal. If the distance to the background is pretty big, there are good chances letting the mesh vanish in your final pictures.
This is the reason i advice wide open apartures to vanish the fence and blur the background because of the lack of depth of field.
The rule is distance from the camera/lens to the fence as short as possible (but please don’t jump behind the barrier), distance fence to animal as far as possible and the distance form the animal to the background because of the depth of field rule (1/3 in front of the subject and 2/3 behind the subject) double the distance.
Glass panes
The same rules apply for glass pane, but there is an additional problem in form of the reflexions.
You should wear dark closes to avoid reflections even though other visitors will bright/white t-shirts.
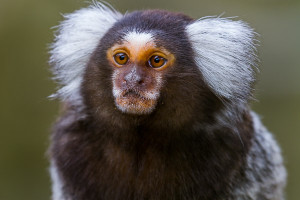
Aachener Tierpark
You could try to bring up the lens on the glass pane contacting the lens hood of your lens . This reduces possible reflections but limits your possible movements to follow the animal. Maybe you should try an angle of 45°.
But there are additional problems taking pictures through glass panes. Dirt and scratches may hinder you taking pictures. But you should take the chance, since we’re taking the pictures on digital media you can delete it afterwards., since refelctions are hard to estimate.
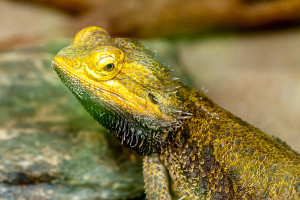
Reflektionen und Mischlicht
But that is not the last problem 😉 Animals in terrarium like it warm and cosy especially reptilian. Therefore in a lot of these enclosures heat lamps are installed which have a weird color temperature. This makes the white balances not easier at all. You’ll get yourself into compromises concerning the white balance, but just try it, maybe the resulting picture returns to be a wunderful shot, even if the white balance is not perfect.
Conclusion
This were my hints and experiences taking pictures in animal parks und maybe you like to view my pictures from the Aachener Tierpark,Garten der Schmetterlinge or Freigehege Hellenthal, which are published on my photo blog.
I’m looking foward to your questions or suggestions.
ciao tuxoche


