UGreen NASync DXP4800 plus a high quality NAS I
After upgrading my OpenMediaVault with ZFS service to larger disks, I had 6×4 terabytes of spare disks. Since even the four terabytes of NVMe were a bit tight for photo and video storage, I decided to purchase a NAS.
Introduction
 Unfortunately, prices are such that if you’re looking for a compact enclosure for four or five drives, such as a Jonsbo N1 or N2, and then have to buy the appropriate components (mainboard, RAM, power supply), you’re looking at around €500-600.
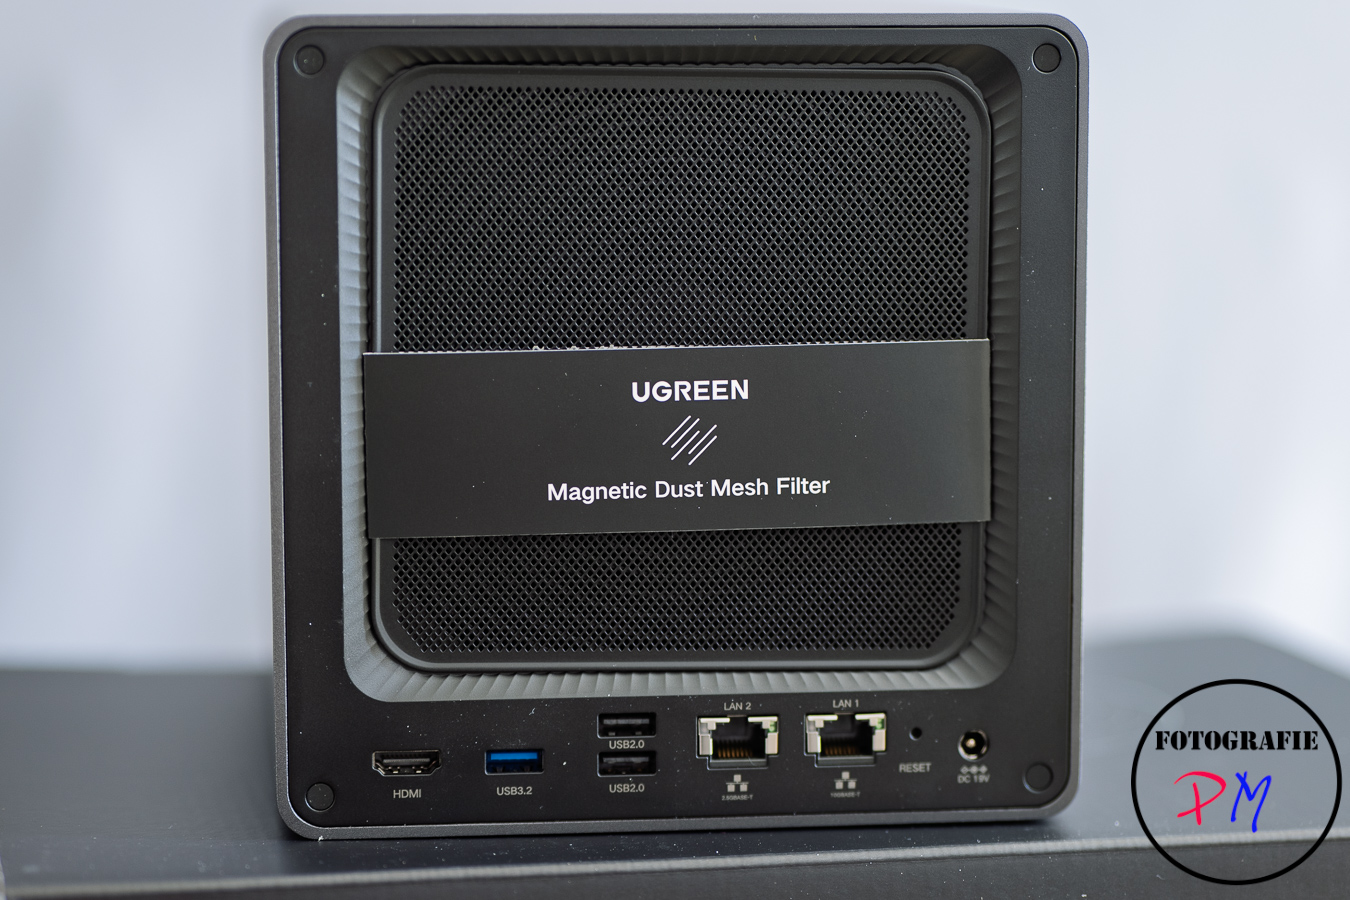
This is where the UGreen NAS D XP 4800 comes in very handy, available for under €540. The NAS also provides two NVMe slots for caching and is also equipped with a 2.5 GB and a 10 GB network interface.
I recorded a video about the setup and my first impressions:
Setup
Setting up the NAS is actually very easy. You choose a username, specify the password, and this will be the future admin user for this device.
I decided to set up a classic RAID 5 with four hard drives, each with 4 terabytes, since I was planning on synchronizing the photos and other files stored there to my backup server, OpenMediaVault. If that hadn’t been the case, I would most likely have opted for a RAID 10.
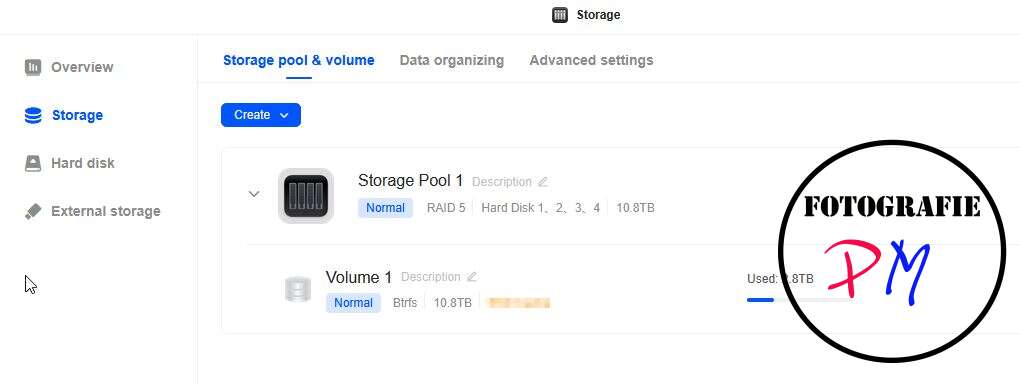
Setting up the RAID is actually quite quick. You select the drives, specify that you want them to be grouped together, for example, with the name Volume1, and it’s ready to go. However, the RAID is still being synchronized in the background, which, with a net size of 10.8 terabytes in this case, can take 12-14 hours. However, the RAID or NAS remains usable during this time.
File Services
After enabling SMB, you can start setting up shared folders, which can then be accessed from another PC (Windows or even Mac). In addition to SMB, NFS, FTP, and WebDAV are available.
Unfortunately, iSCSI is missing here. Perhaps this is something UGreen will add later. For beginners, it would also be nice if SMB were at least enabled automatically, or perhaps a notification appeared as soon as a volume was created.
File Systems
The only file systems available here are EXT4, the classic one, and BTRFS. It would be nice if UGreen could upgrade to ZFS in one of the future firmware updates. Then you could, for example, transfer files to another server using ZFS send or receive.
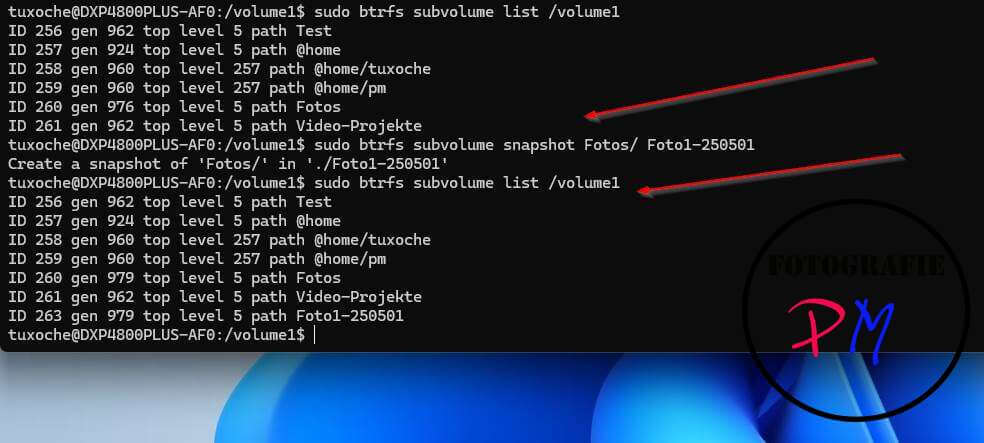
I chose BTRFS during setup, but then realized that the interface lacked the options to create a snapshot of the respective file system using BTRFS. This can only be done manually via SSH access, but more on that later.
Performance and Power Consumption
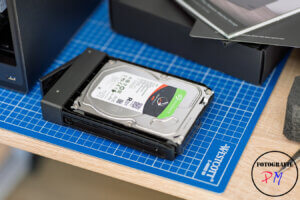
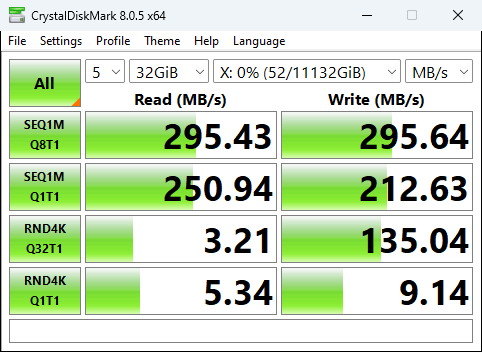
Almost no matter what tool you use, the UGreen NAS with its four Seagate hard drives achieves the speed that a 2.5 GB network connection can deliver.
With CrystalDiskMark, both read and write speeds of approximately 295 MB per second are achieved. The Black Magic Disk test, which is structured slightly differently, achieves lower values in this test.
During the initial RAID synchronization, the device’s power consumption with all four hard drives installed was approximately 37 W, which I think is acceptable for this performance class.
If no file operations are currently being performed, this value drops to approximately 30-32 W.
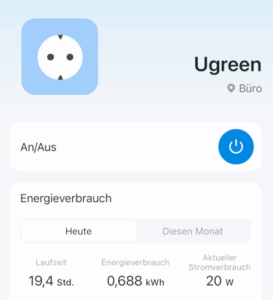
The interface now has a setting option to put the drives to sleep after a certain time (in my case, 10 minutes). This can significantly reduce energy consumption to 20 W in my case, which I think is a very good value.
Overall, a largely successful package that offers very good hardware at a very good price.
And then there’s the UGreen app, which allows you to set up the device and access the NAS’s functions. The app is supposed to automatically find the NAS if both devices are on the same network, which unfortunately isn’t the case for me. There’s no manual option, though.
However, there are, of course, some aspects I didn’t like as much, and we’ll look at those in Part 2.


