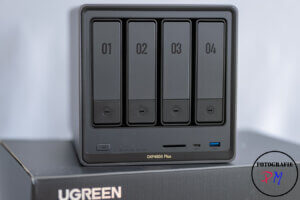
6 months review on the UGreen DXP4800+ NAS
This post is about my experiences with the UGreen NAS DXP 4800+ over the past 6 months 😉
I’m using the UGreen NAS DXP 4800+ as a pure NAS device, without using any of its additional features, primarily as a data storage device for photos and videos. During some research, I came across a Reddit post about power-saving features in the NAS’s BIOS.
As the article explains, pressing Ctrl+F1 unlocks additional BIOS settings, allowing you to configure various power-saving options. This feature alone reduces the UGreen NAS’s power consumption by between 6 and 8 watts. By enabling a setting to spin down the hard drives, the entire NAS with its four hard drives consumes well under 20 watts in idle mode.
 Next, I encountered the problem that the 2.5 Gb network connection was no longer configured when the NAS booted up, practically giving me access to the NAS. If I hadn’t already configured the device’s 10 Gb port, the same thing would have happened there. Using SSH, I was able to confirm that the necessary driver for the Intel V226 was loading. However, for whatever reason, the network adapter wasn’t receiving an IP address. It’s worth noting that while I typically assign IP addresses via DHCP on my network, in some cases, such as with my NAS, I assign a static IP address based on the MAC address.
I couldn’t solve this problem by simply assigning a static IP address to the adapter in the interface instead of using DHCP. After some trial and error, I discovered that unloading and then reloading the corresponding kernel module for the NIC resulted in it having an IP address. As a first workaround, I therefore set a 20-second delay to unloading and loading the kernel module during reboot. This worked as a workaround.
A corresponding ticket with UGreen was quickly opened, and I was asked to upload the relevant log files, which I did. However, it then took five days before they decided they would like TeamViewer access to the device. I declined this, I think for understandable reasons, and asked UGreen to provide me with an ISO image of the UGOS operating system.
This was done, and I then reflashed the NAS using the ISO image, essentially resetting it to the default values. Interestingly, other settings, such as my home directory, which is located on the volume, and the previously created RAID 5 array, remained untouched.
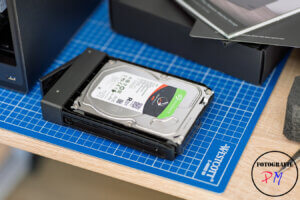 Finally, after flashing, I had the opportunity to try replacing a defective hard drive in the UGreen NAS. That was actually straightforward, after the NAS reported after booting that the RAID was in a degraded state and one drive could no longer be accessed. Luckily, I had a suitable 4 TB drive on hand. I simply swapped it out, then of course had to format the drive, and after that, the NAS started rebuilding the device, which ultimately takes almost all night.
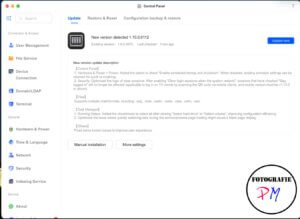 The NAS is now running UGOS 1.10 and is working flawlessly, at least for my purposes. I’ve also activated the Cloud Sync app to back up my OneDrive to the NAS.
What I still have to do, however, is replace the 4 TB hard drives with 8 TB ones. And I’m not sure yet whether it’s better to rebuild the RAID 5 from scratch or replace the drives one by one, which would take quite a long time overall.
But I’ll decide that later, though at the moment I’m leaning towards installing the 8 TB drives and then restoring the backup.
Otherwise, as always, feel free to ask if you have any further questions 🙂
ciao tuxoche


Hi, I just read your topic, and i think i have similar problem with internet, after few days of using in DHPC mode, my router have to much latency and internet was so slow.